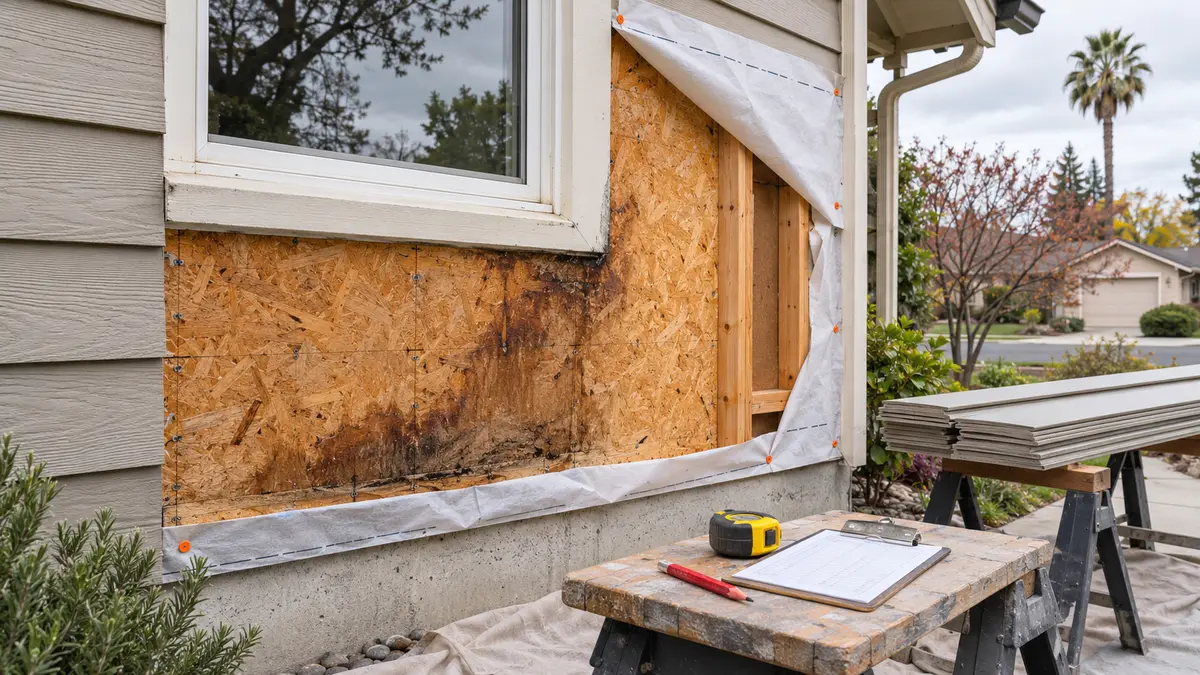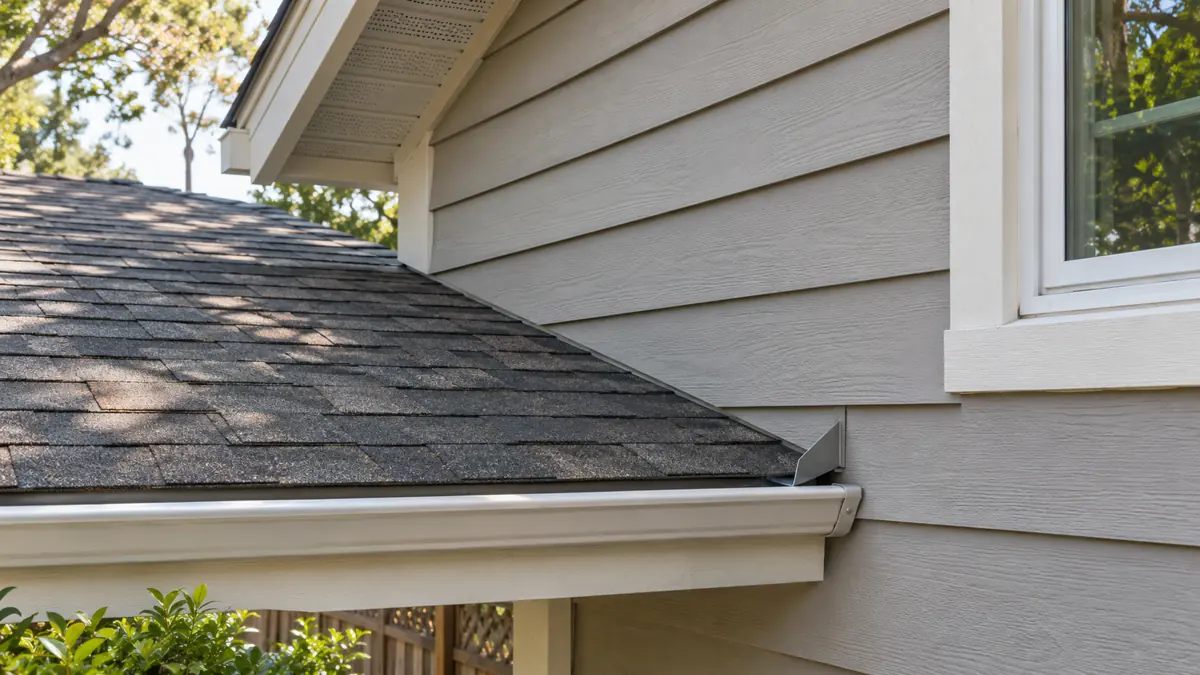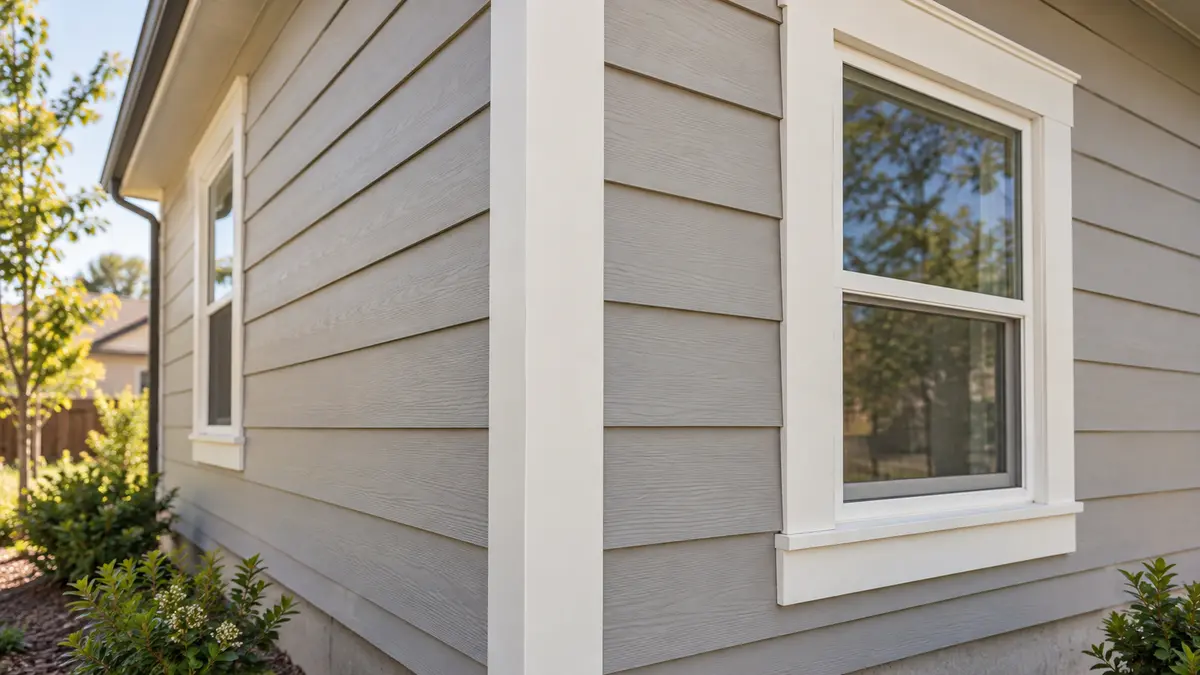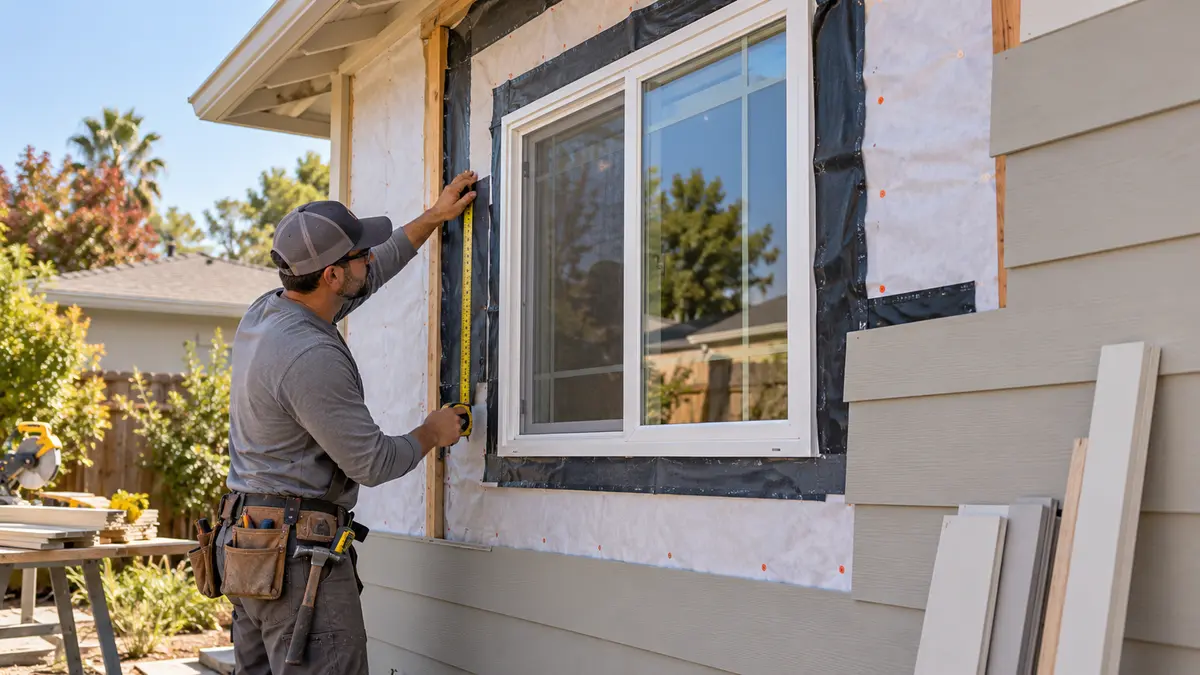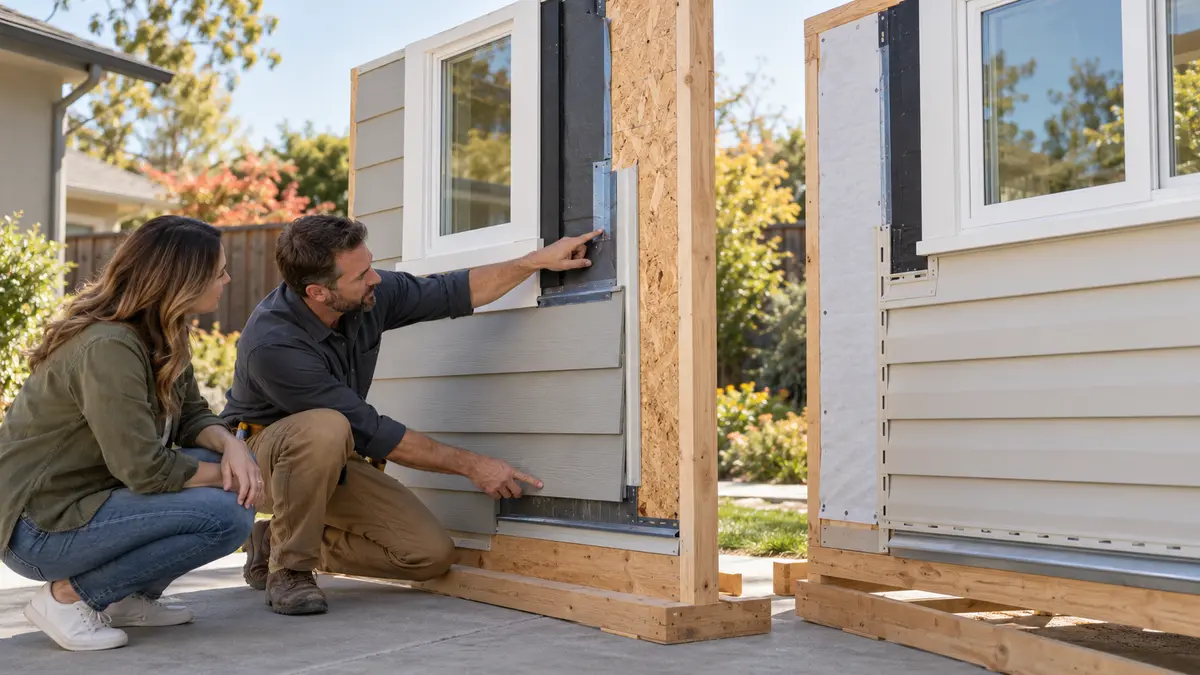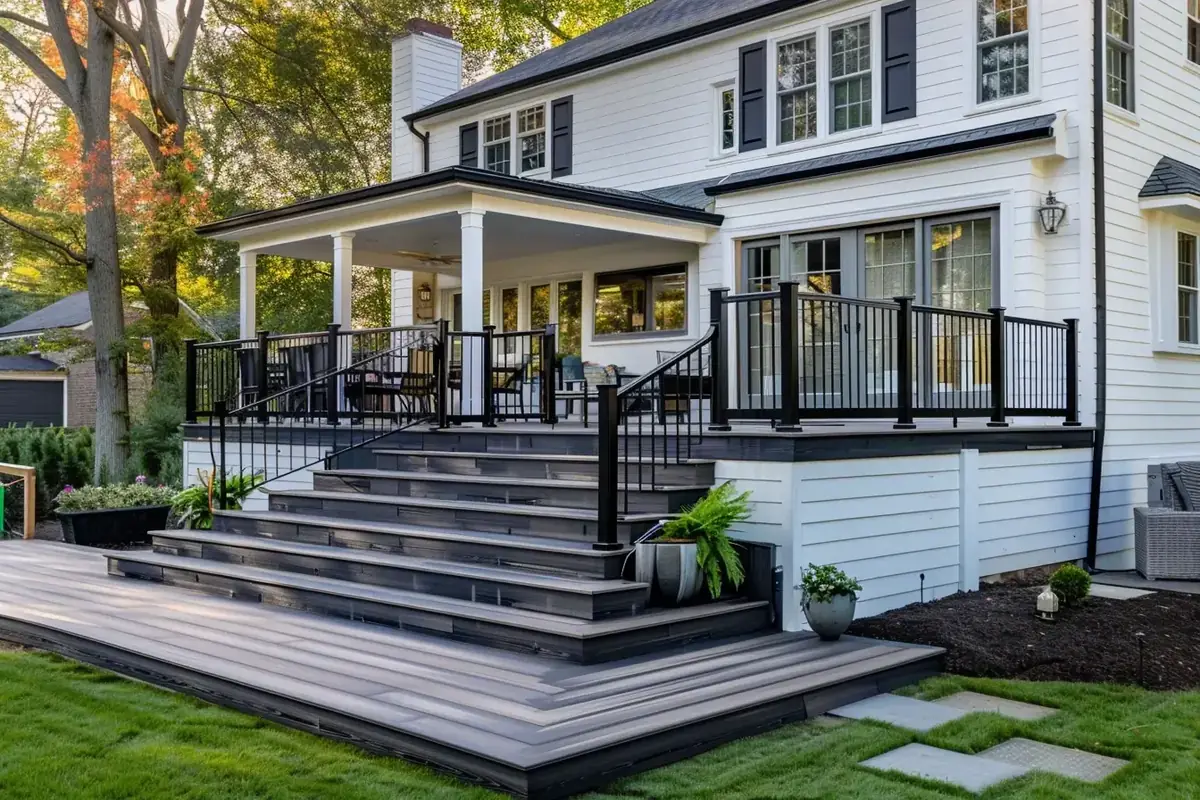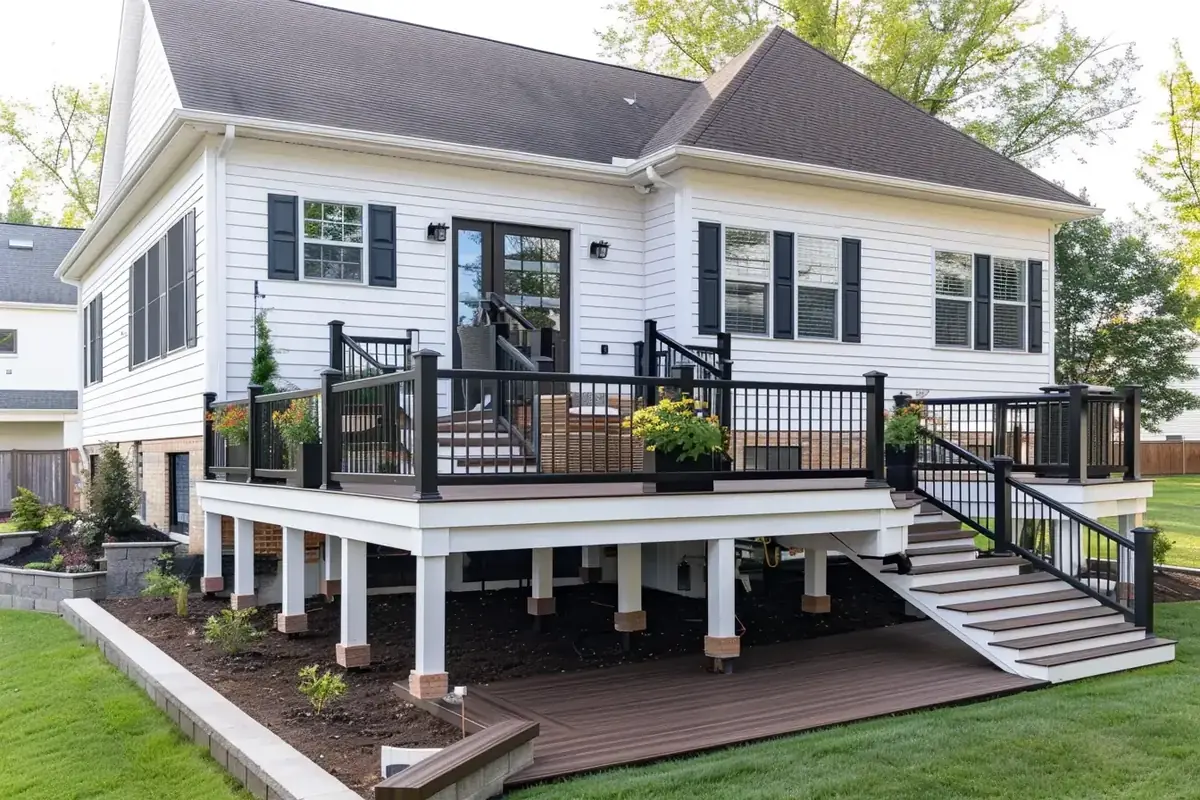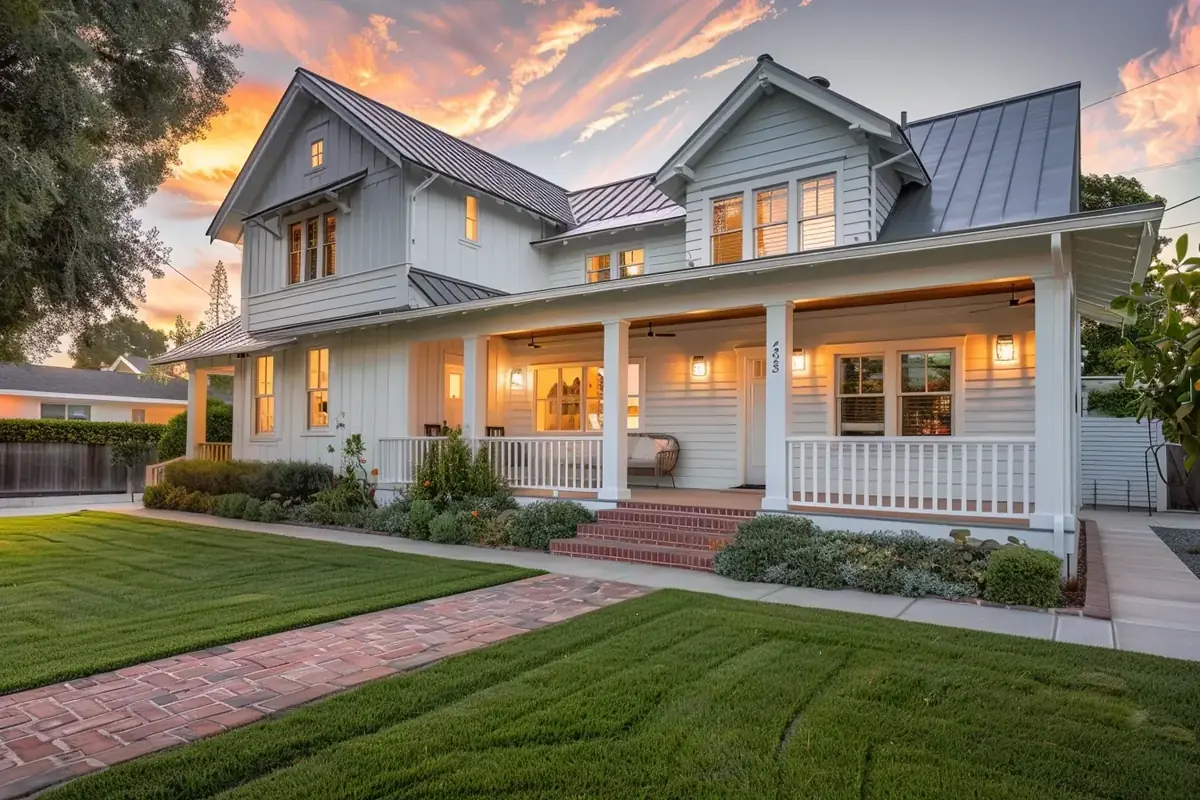
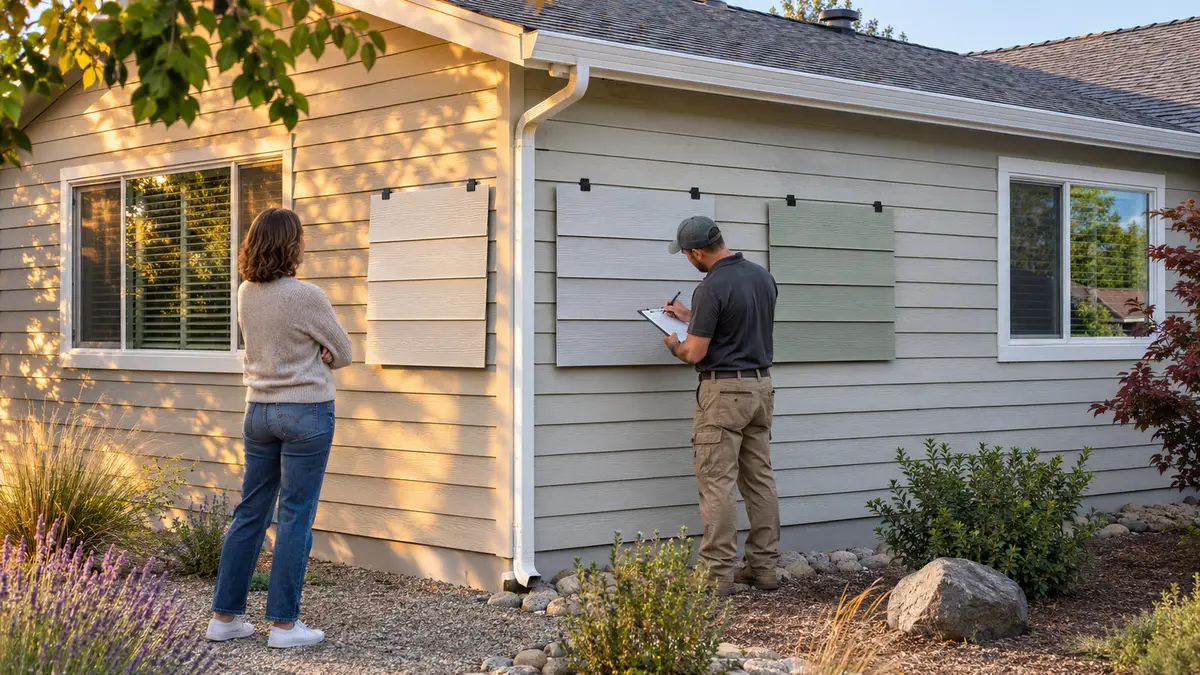
Do not approve a whole-house siding color from a screen, brochure chip or one sample held beside the front door. Put large physical samples on the actual house, including the west- and south-facing elevations, and review them at several times of day. Compare each choice with the roof, masonry, windows, gutters and landscaping that will remain. The color that looks balanced in midday sun may become warmer, cooler, lighter or more intense in late-afternoon light.
This is a selection process, not a promise that one color or exposure will perform better on every product. Confirm the exact manufacturer, product line, texture, finish and locally available color before the order is released.
Why the same sample changes around the house
Exterior color is viewed through changing light. A west-facing wall can receive strong, low-angle light late in the day, while a south-facing wall generally experiences a longer period of direct daylight. Roof overhangs, trees, neighboring buildings and reflected light can create additional differences within one elevation.
Those conditions affect perception. A gray may show a blue, green or brown undertone. A white can look crisp on one side and creamy on another. Deep colors can appear nearly black in shade, then reveal more chroma in direct sun. Texture also changes the result because lap siding, shingles and smooth panels cast different shadow patterns.
James Hardie's exterior-color guidance recommends obtaining a siding sample and viewing it in different light, including sun and cloud cover. Its product catalog also cautions that printed colors are limited by the printing process and directs buyers to actual product samples for true color. That is why a physical on-site review should control the final decision.
Begin with the parts of the exterior that are staying
Before choosing samples, list the fixed elements that will remain after the siding project:
- roof shingles or metal roofing;
- brick, stone or stucco;
- window and patio-door frames;
- gutters and downspouts;
- garage doors and exterior doors;
- concrete, pavers and retaining walls; and
- mature landscaping near the house.
Photograph these materials in neutral daylight and note their undertones. A warm roof or brick may make a cool gray look more blue. Bright white windows can make a soft off-white siding look darker than it did alone. The goal is not to match every material, but to make the relationship intentional.
If trim, soffit, fascia or gutters will also change, place those proposed samples beside the siding rather than selecting each component separately.
Use the exact product, texture and finish
A color name alone is not a complete specification. The same nominal color can read differently on another material, texture or sheen. Ask for a physical sample representing the product being quoted—not a generic paint chip that only approximates it.
Record:
| Decision | What to write down |
|---|---|
| Manufacturer | Exact company and product family |
| Material and profile | Fiber cement, vinyl, engineered wood or metal; lap, panel or shingle |
| Texture | Smooth, wood-grain or another specified finish |
| Color | Manufacturer's full color name and code, if provided |
| Finish | Factory-applied finish or field-painted system |
| Trim pairing | Exact trim material and color |
| Availability | Confirmed for the Sacramento-area order and required quantity |
James Hardie notes that regional product and color offerings can differ. Verify current local availability before treating a sample as an orderable selection.
Build a useful field test
Narrow the palette first
Choose two or three realistic finalists, not a dozen nearly identical chips. Include the proposed trim color. If two candidates are difficult to distinguish indoors, label the backs before taking them outside.
Make each sample large enough to judge
Use the largest practical manufacturer sample or a properly prepared mockup of the specified field-applied coating. A small chip is easily overwhelmed by the existing wall color and cannot show the full texture or shadow line. Keep samples separate enough that one color does not visually contaminate the next.
Do not permanently fasten a mockup through siding or water-management components. Use a safe temporary mounting method approved for the existing surface, or support the samples independently.
Place samples on both key elevations
Put one set on the west side and another on the south side at a representative height. Avoid testing only under a deep eave, behind a shrub or next to a strong reflected color unless that location represents most of the wall.
Where practical, include a sample beside a window or fixed masonry and another in the middle of the field. Step back to the normal viewing distance from the street, driveway and backyard; a sample judged from twelve inches away may read differently across an entire elevation.
Review the samples on a schedule
One quick visit is not enough. Create a simple photo log:
- morning, before the west wall receives strong direct light;
- midday, when the south elevation is broadly illuminated;
- late afternoon, when west-facing light is most influential; and
- an overcast period, if the decision window allows.
Use the same phone camera position for each comparison, but do not rely on automatic phone color correction as the final judge. Look at the physical samples with your eyes, then use photos as a record of relative changes. Disable filters and avoid deciding from a screenshot shared by text message.
For each visit, note whether the color looks too warm, too cool, too light, too dark or overly saturated. Also record glare, shadow contrast and whether trim still separates cleanly from the siding.
Check the whole composition, not just the field color
The siding color covers the largest area, but trim and accents determine how the house is organized visually. Before approval, check:
- whether corners and window trim have enough contrast to read clearly;
- whether a dark accent is limited to a deliberate area;
- how downspouts cross the field color;
- whether the garage door becomes the unintended focal point;
- how the color meets brick, stone or stucco transitions; and
- whether front and rear additions will look connected.
A visualization tool can help compare broad schemes, but it cannot reproduce the exact light, surrounding reflections or texture at the property. Use it to narrow choices, then return to physical samples.
Separate color approval from performance claims
A color that looks good on the west wall is not automatically guaranteed against fading, heat-related movement or coating failure. Those questions depend on the specific material, finish, installation and warranty language.
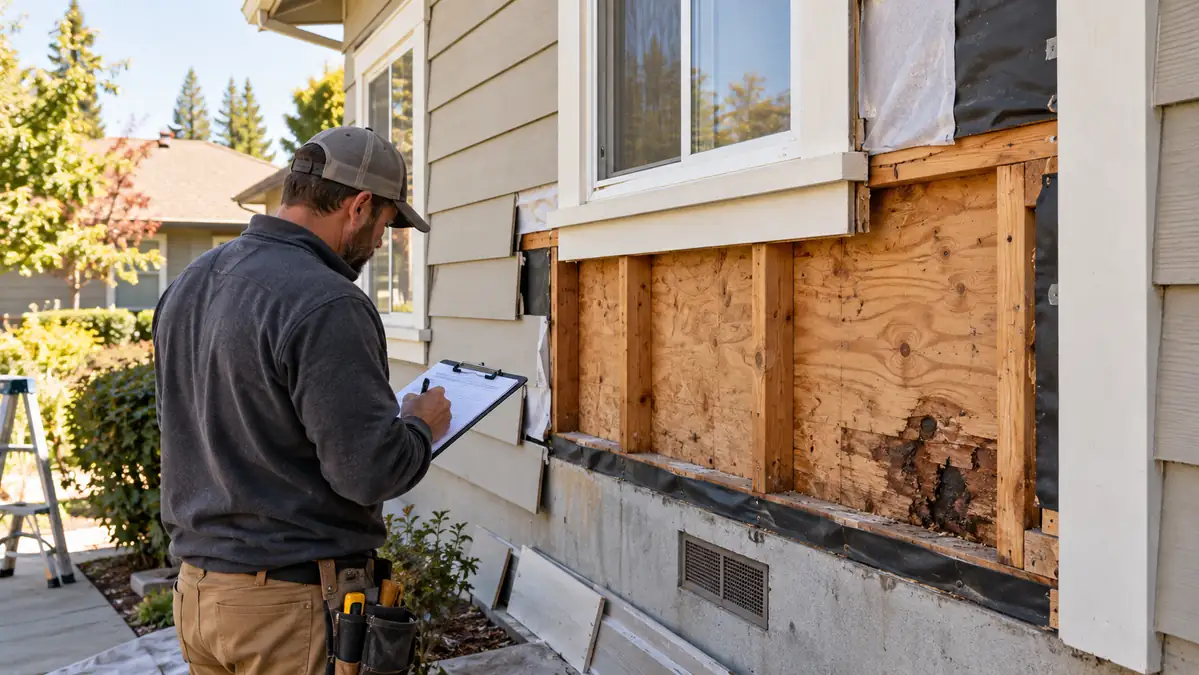
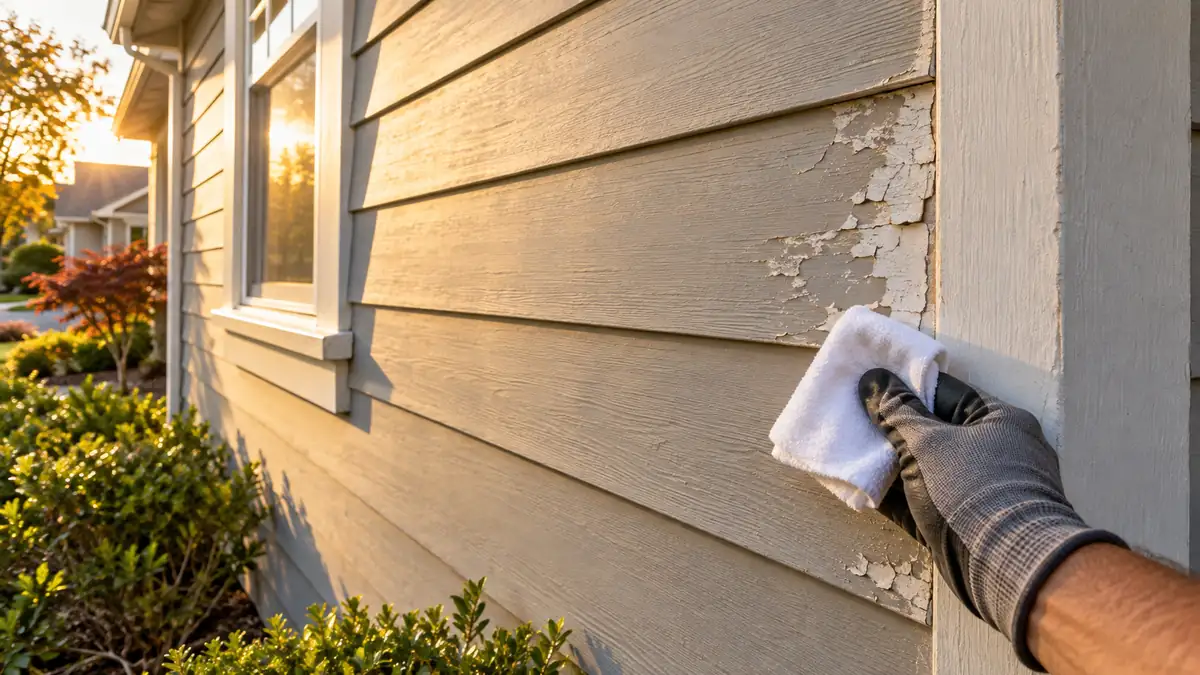
Ask for the current manufacturer documents covering color variation, UV exposure, touch-up, maintenance and warranty exclusions. For an existing wall that already looks uneven, use our Sacramento fading-versus-paint-failure guide before assuming the problem is purely cosmetic.
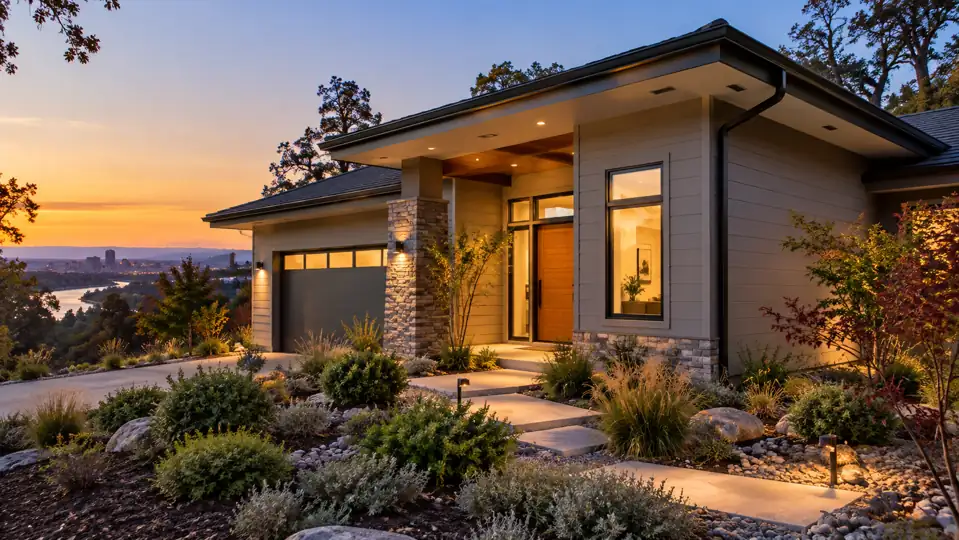
The article image is an original editorial visualization, not a photograph of a Yellowstone Renovation project. Browse the completed exterior project showcase for verified company work.
Siding color sample FAQ
Can I choose siding color from the manufacturer's website?
Use online tools to narrow the palette, not to approve the final order. Screen settings, photography and surrounding colors affect what you see. Review an actual sample of the specified product and texture at the house.
Which wall should I test first?
Test every visually important exposure. In Sacramento, the west and south elevations are especially useful comparisons because their direct-light timing differs. Also test the main street-facing wall and any heavily shaded side that will be seen regularly.
Should the sample be placed over the old siding color?
Yes, but make it large enough that the old color does not dominate the comparison. View it beside fixed roof, masonry, window and trim elements, and judge it from a normal distance as well as up close.
When should the final color be written into the contract?
Before materials are ordered. Record the manufacturer, product, profile, texture, exact color, finish, trim pairing and approved sample. If the selection changes later, document the change and any cost or schedule effect in writing.
Approve the complete siding palette before ordering
Yellowstone Renovation can help organize product samples, elevation comparisons, trim pairings and a written Sacramento siding scope before materials are released. Review our Sacramento siding service, Sacramento local service page and guide to siding trim and corner details, then request an on-site estimate.