
When siding meets a lower roof or finishes beneath an eave, the visible board is only one part of the detail. A sound scope must show how roof runoff exits, how the wall drainage plane laps with flashing, where the selected siding terminates, and who is responsible for the soffit, fascia and gutter interfaces. If those responsibilities are split between trades without one coordinated drawing or written detail, a clean-looking installation can still leave an uncertain water path.
This guide focuses on three easily confused conditions: a sloped roof meeting a wall, siding ending beneath a soffit, and the gutter/fascia area at the roof edge. It complements our broader guide to siding trim and corner details without repeating its window, door and corner scope.
Identify which transition you are looking at
Stand on the ground and photograph the whole elevation before zooming in. A close-up of one stained board may hide the roof or downspout that controls the water above it. Do not climb onto the roof or remove siding to investigate.
Lower roof against an upper wall
This is the classic roof-to-wall intersection. The wall's water-resistive barrier, roof underlayment, step flashing, kick-out flashing, roofing and siding termination must form a continuous path that directs water down and out. The kick-out at the lower end turns concentrated roof runoff into the gutter instead of letting it continue down the wall.
The U.S. Department of Energy's Building America guidance warns that flashing at this junction must be integrated with the wall drainage plane and roof covering—not simply attached over finished siding. The correct sequence may require removing enough cladding and roofing to inspect and rebuild the layers rather than sliding a small piece of metal into an inaccessible joint.
Siding beneath a soffit or gable overhang
At a horizontal eave, siding normally terminates into a defined trim or receiving detail below the soffit. At a gable, the sloped termination may involve frieze trim, J-channel or product-specific accessories. The scope should identify:
- which siding and trim products meet at the top;
- how cut edges are finished;
- how the water-resistive barrier terminates behind the finish;
- whether soffit ventilation remains open and correctly distributed; and
- whether deteriorated sub-fascia, lookouts or sheathing are included or handled as a documented change.
Do not seal every visible opening by reflex. Some joints are designed for drainage, ventilation or material movement. The installation instructions for the exact siding, trim and soffit system control where sealant belongs.
Gutter, fascia and roof-edge transition
Staining below a gutter end can be caused by overflow, an open end cap, a missing diverter, an obstructed outlet or a roof-to-wall detail that sends water behind the gutter. It does not automatically prove the siding itself failed. The fascia may also conceal deterioration at the roof edge.
The gutter end, kick-out and siding should remain serviceable. LP SmartSide's current panel-siding instructions, for example, say not to extend siding or trim into the kick-out flashing or gutter and show clearance between a gutter end and the adjoining wall. Other products have their own details. Use the current instructions for the selected assembly rather than copying a dimension from a different brand.
Follow the water path before choosing the repair
Exterior symptoms often appear below the actual entry point. During a site review, document the path in this order:
- Roof surface: note the roof plane that drains toward the wall and gutter.
- Roof-to-wall line: look for visible clearance, displaced materials or an improvised patch.
- Kick-out and gutter end: check whether runoff has a deliberate route into the gutter.
- Gutter and downspout: note debris, overflow marks, loose sections and the final discharge location.
- Wall below: map stains, swollen trim, peeling finish, open joints or repeated repairs.
- Interior evidence: record any corresponding ceiling or wall staining without assuming the exterior source.
This sequence helps distinguish a surface-maintenance issue from a transition that needs coordinated roofing and siding access. Our Sacramento exterior drainage guide applies the same water-path method at decks and door thresholds.
What the siding proposal should show
A roofline transition deserves more than “repair flashing as needed.” Before approving the proposal, ask for these decisions in writing:
| Scope item | What should be defined | Why it matters |
|---|---|---|
| Removal limits | Which siding, trim, roofing, gutter or soffit pieces will be removed | Access must match the concealed layers being evaluated |
| Existing-condition review | Who checks sheathing, framing and fascia after opening | Hidden deterioration can change the repair scope |
| Flashing sequence | WRB, membrane, step flashing and kick-out integration | The layers must drain outward in the correct order |
| Product clearance | The current requirement for the exact siding and trim | Different systems do not share one universal gap |
| Gutter interface | End location, diverter and downspout responsibility | Roof water should not be concentrated onto the wall |
| Soffit and fascia | Reuse, replacement, ventilation and finish responsibility | These components may cross roofing and siding scopes |
| Closeout evidence | Photos before covering and final water-path review | Concealed work becomes difficult to verify later |
If a wall is already being opened for replacement, use the opportunity to document the drainage plane. The house-wrap and siding guide explains what should remain visible before the cladding covers it.
Coordinate roofing, siding and gutter responsibilities
One contractor may not perform every part of the repair, but one scope should identify the handoffs. If a roofing contractor installs step flashing before the wall drainage plane is accessible, or a siding crew closes the wall before the kick-out and gutter position are confirmed, each trade can finish its own task without completing the assembly.
Ask these coordination questions:
- Who removes and reinstalls the roofing needed for flashing access?
- Who integrates the wall membrane or WRB over the vertical flashing leg?
- Who repairs damaged sheathing, fascia or framing if found?
- Who resets the gutter and confirms the kick-out discharges into it?
- Which trade restores soffit ventilation and finish coatings?
- At what stage are concealed-condition photos reviewed?
The City of Sacramento lists both siding and re-roofing among work that requires permits. Its current electronic plan-check table says typical residential siding and reroof permits do not require plans, while commercial projects do; related structural work or a more complex scope may be handled differently. Verify the property jurisdiction and current requirements before work begins. The City also states that the 2025 California Building Standards Codes apply to new applications as of January 1, 2026.
Warning signs to include in the estimate
From the ground, record rather than diagnose these conditions:
- dark runoff lines beginning at the end of a lower roof;
- peeling paint or swollen trim below the roof-to-wall junction;
- siding that touches roofing or disappears behind a gutter end;
- repeated sealant patches at the kick-out location;
- soft, split or stained fascia near a gutter corner;
- soffit panels that sag, separate or have blocked vents;
- a downspout that empties against the same wall; and
- interior staining that appears after rain near the transition.
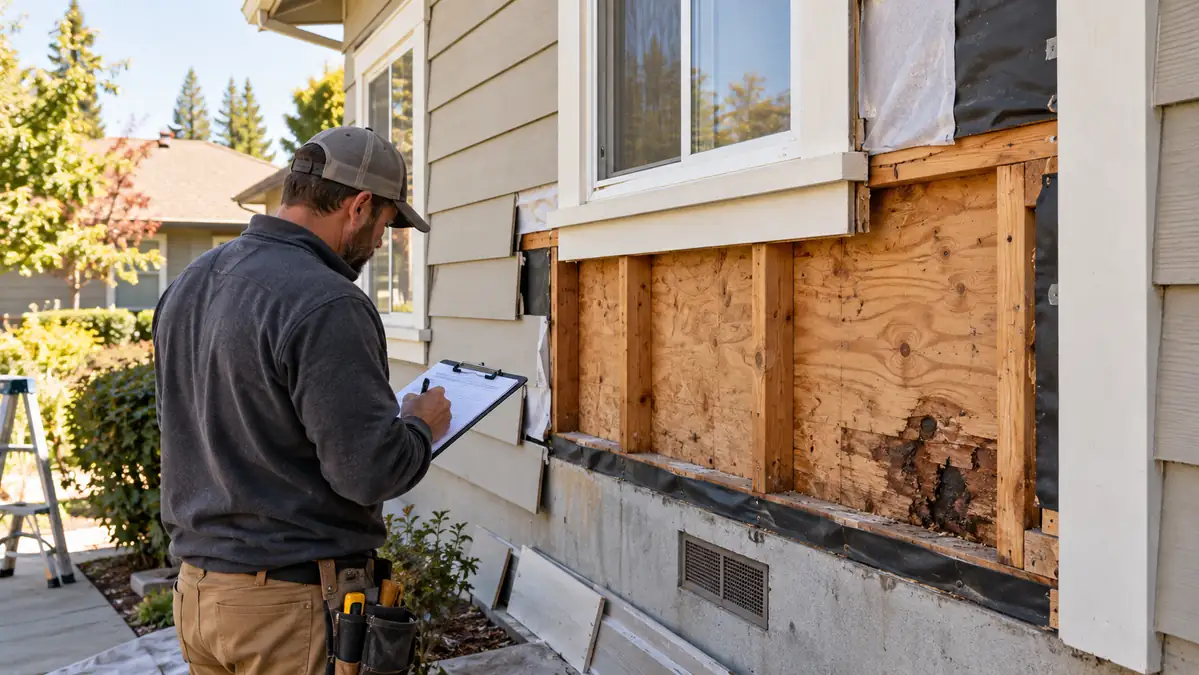
These clues justify closer evaluation, but they do not prove how far damage extends. Avoid promising a spot repair until the necessary layers can be inspected.
Roof-and-eave siding FAQ
Can a siding contractor fix a roof-to-wall leak?
It depends on the diagnosed path and the contractor's licensed scope. A durable repair may require coordinated roofing, wall flashing, WRB, siding, gutter and concealed-wood work. The proposal should assign each part rather than labeling the entire condition “siding.”
Should the siding touch the roof shingles?
The selected siding and trim system will specify a clearance and flashing detail at roofing. Do not eliminate that space with extra material or sealant. Ask the contractor to cite the current instructions for the exact product being installed.
Is kick-out flashing the same as step flashing?
No. Step flashing runs along the roof-to-wall intersection in overlapping pieces coordinated with the roofing. Kick-out flashing is the diverter at the lower end that turns runoff away from the wall and toward the gutter. They work as parts of the same water-management path.
Does replacing the gutter solve staining below the eave?
Only if the gutter was the actual cause and the roof-to-wall layers are sound. Before replacement, check the gutter end, kick-out, step flashing, roof edge, fascia and wall drainage plane as one system.
Plan the transition before closing the wall
Yellowstone Renovation can evaluate a Sacramento-area siding scope, document roof and eave interfaces, and coordinate siding, trim, fascia and soffit decisions with the required adjacent work. Review our Sacramento siding service and Sacramento location page, browse the Project Showcase, then request an on-site estimate. We will confirm the property, existing conditions and exact scope before making construction commitments.
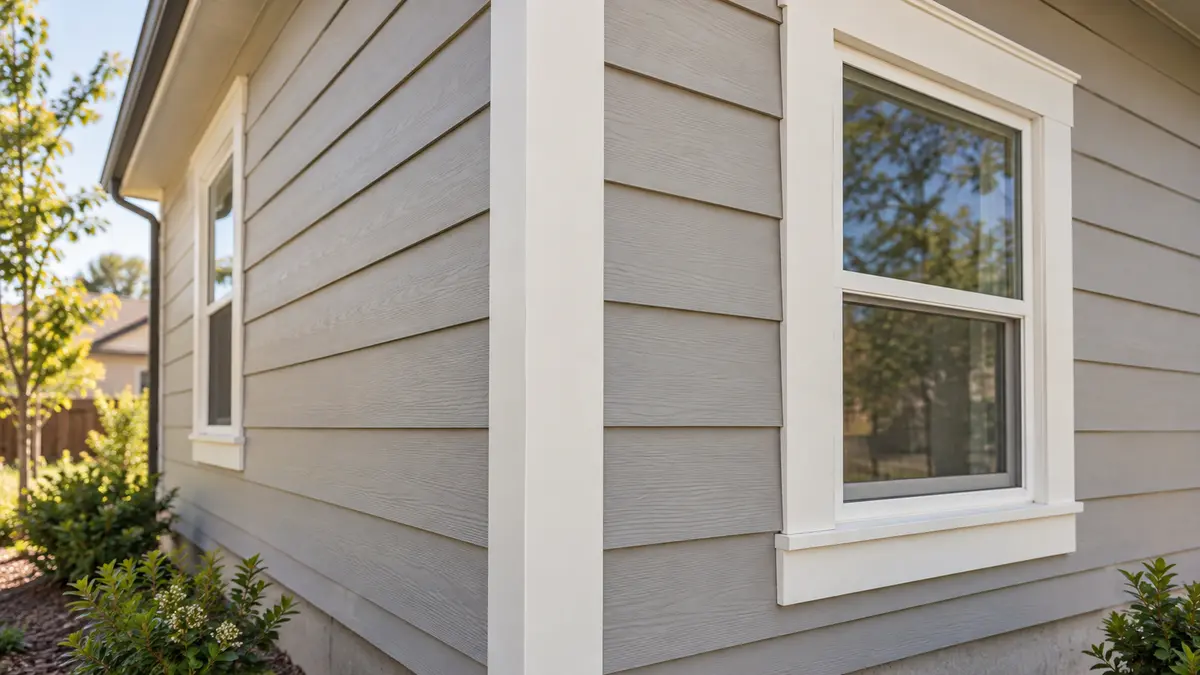
The image on this page is an original editorial visualization, not a photograph of a completed Yellowstone Renovation project.