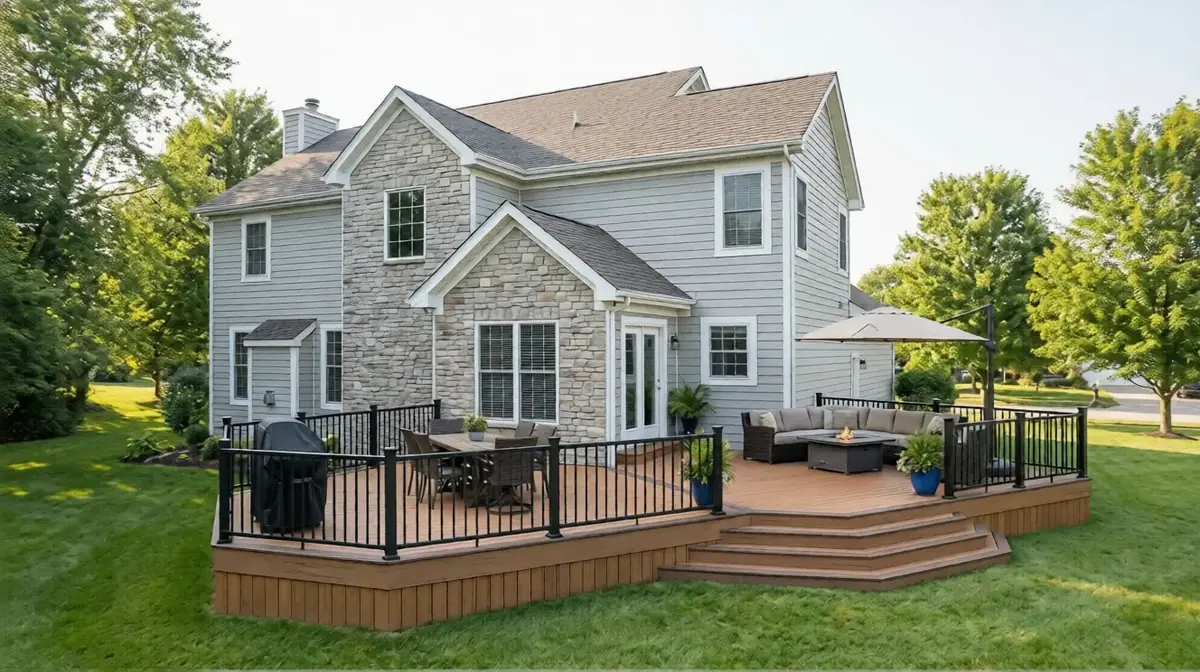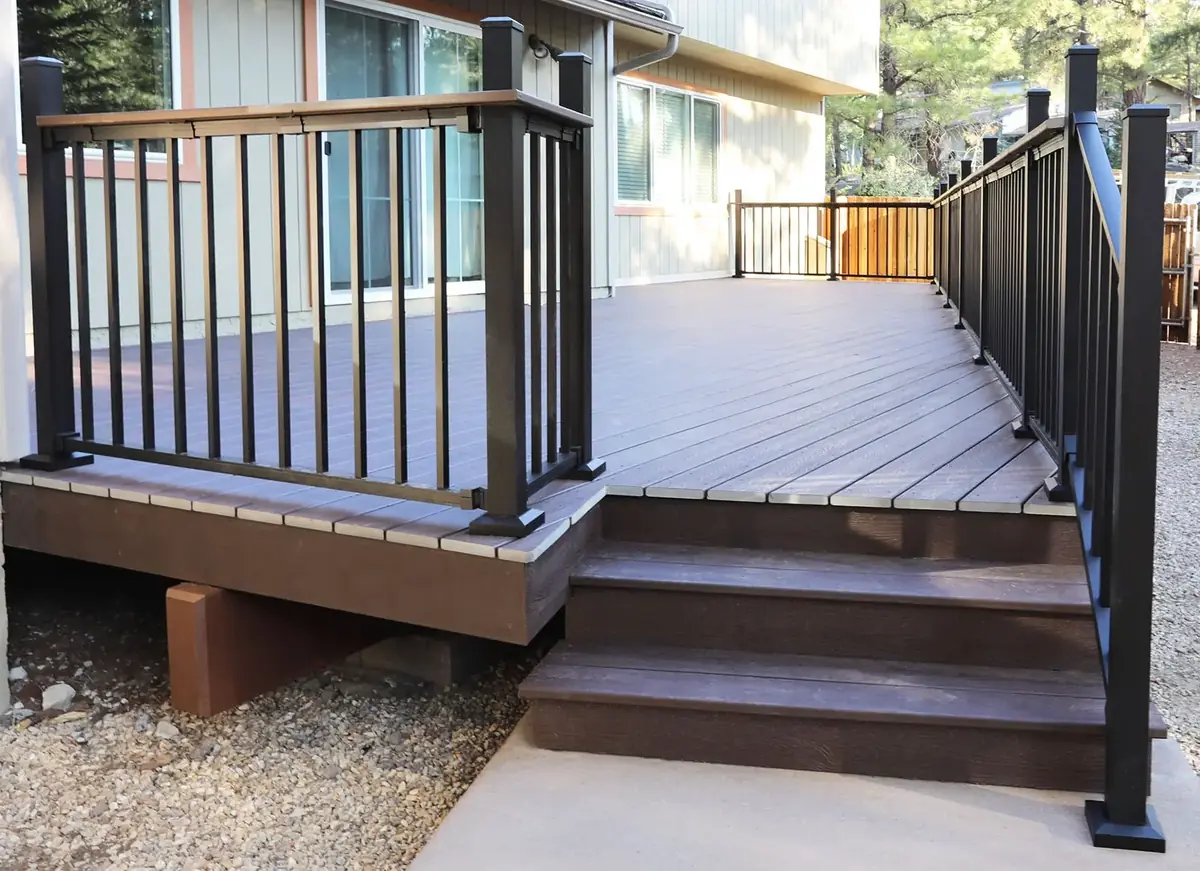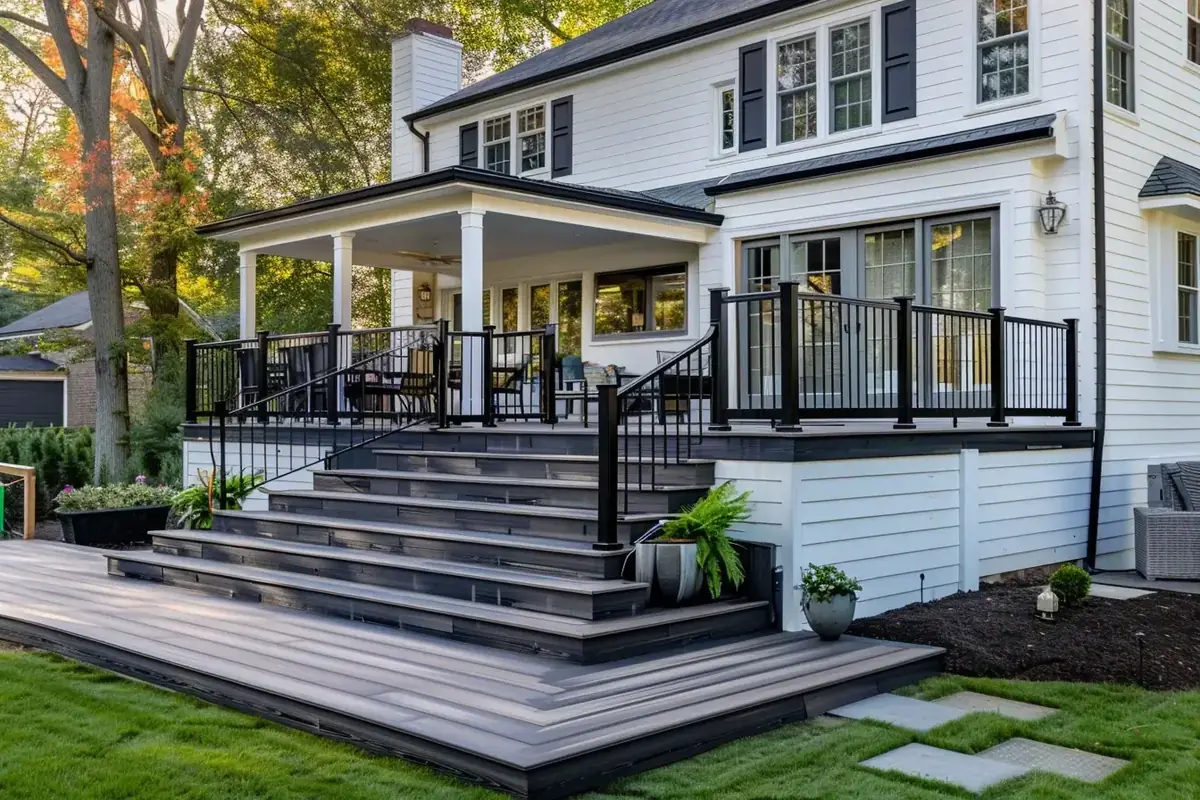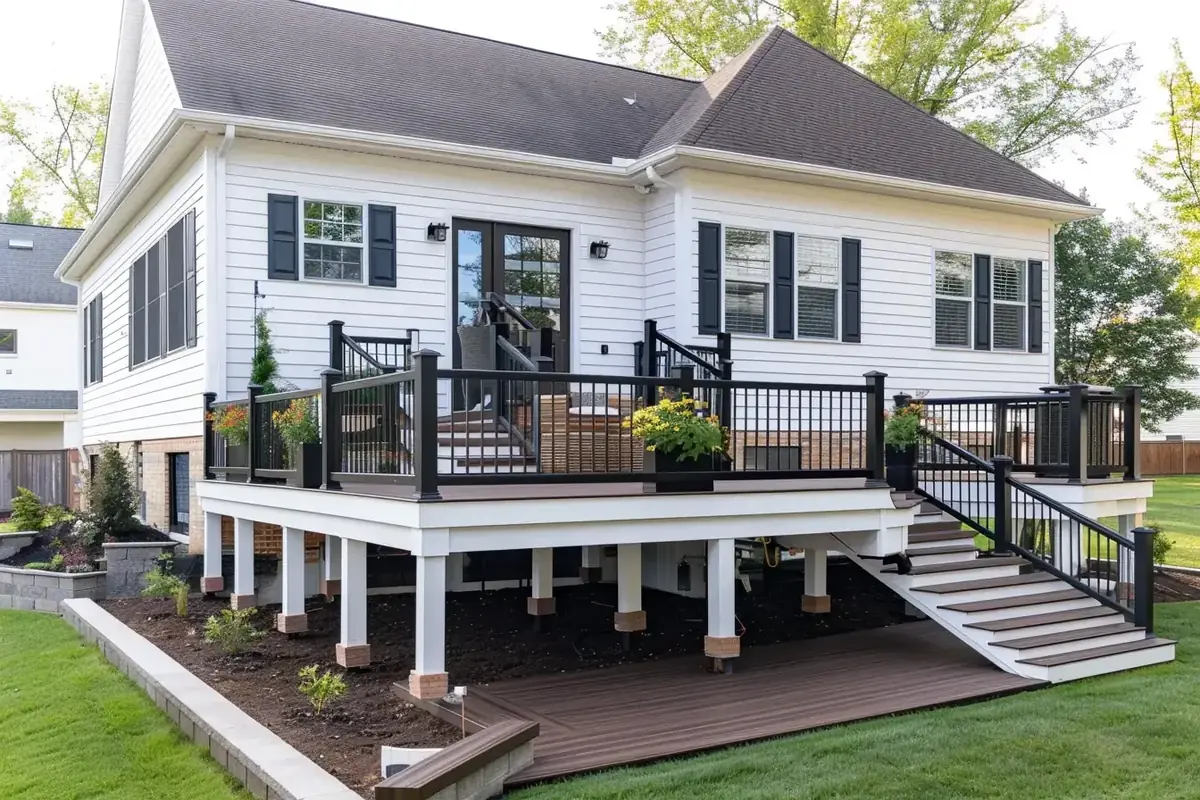
Resurfacing starts below the surface
Removing old deck boards and installing composite or new wood can transform a backyard. It can also hide aging framing for another decade.
Before ordering boards, inspect whether the existing structure is safe, dry, properly connected and compatible with the new product. A clean-looking joist is not enough; the entire load path from decking to soil matters.
1. Confirm how the deck is supported
Identify whether the deck is:
- Attached to the house with a ledger
- Freestanding beside the house
- Supported by beams on posts
- Partially supported by a cantilever or unusual existing structure
This determines where loads travel and which connections require the closest review.
2. Inspect the ledger and flashing
For an attached deck, look at the board connecting the structure to the house. Check for movement, corrosion, staining, missing flashing and evidence that water has entered the wall.
Important questions include:
- Is the ledger fastened to structural framing rather than only exterior finish?
- Are fasteners appropriately sized, spaced and corrosion-resistant?
- Does flashing direct water over the ledger and away from the wall?
- Are doors and wall penetrations properly integrated?
- Is there decay at the ledger ends or below the threshold?
If the connection is concealed or questionable, the inspection scope may need selective opening.
3. Probe joist tops and ends
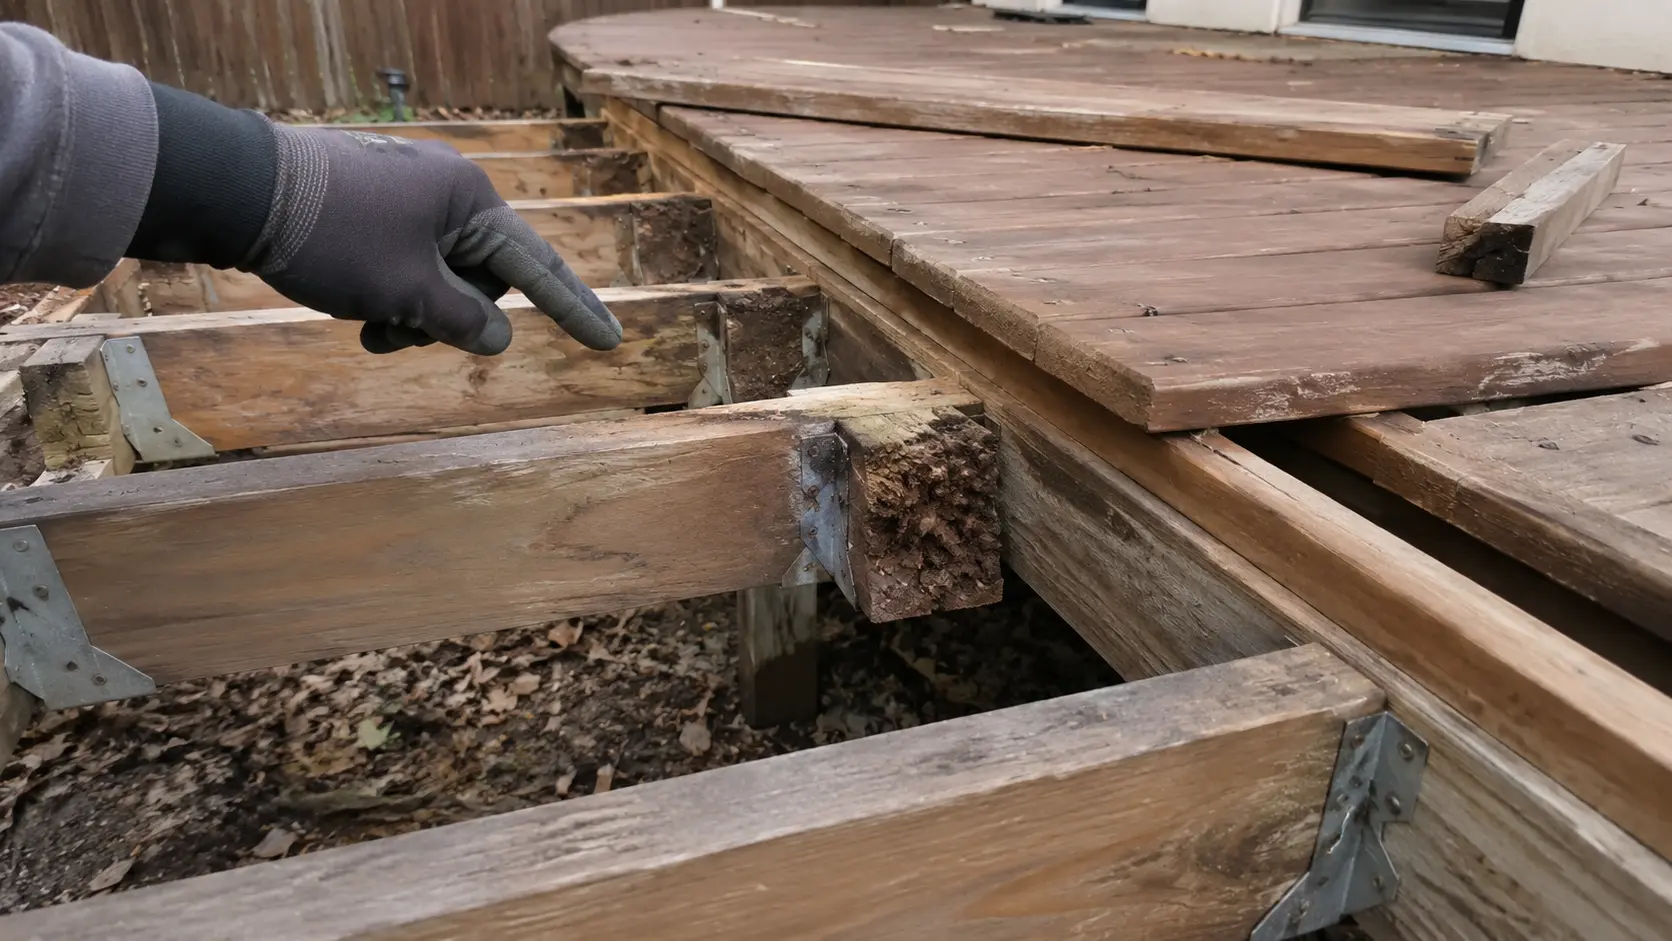
Joist tops sit directly below board gaps, where dirt and moisture can accumulate. Ends near the ledger or rim can also trap water.
Look for:
- Soft areas around old fasteners
- Long splits at ends or connections
- Dark staining that remains after dry weather
- Insect damage
- Excessive notching or drilled holes
- Joists that are crowned inconsistently or no longer flat
Joist tape can help protect sound framing during resurfacing, but it does not repair decay or structural damage.
4. Check beams, posts and connectors
Follow each joist to the beam, each beam to the posts and each post to a footing.
Inspect:
- Beam splices and bearing
- Post-to-beam connections
- Post bases and ground clearance
- Rusted, missing or incompatible metal connectors
- Crushed fibers at bolts or notches
- Leaning posts or settled footings
- Wood trapped against soil, mulch or concrete
Mixed metals and some preservative-treated lumber can accelerate corrosion when the wrong connector or fastener is used. Replacement hardware must be compatible with the application and material.
5. Measure joist spacing
The new decking manufacturer specifies maximum framing spacing, including different requirements for stairs or diagonal installation. Measure actual on-center spacing rather than estimating it.
A frame that worked for thicker wood boards may need additional joists or blocking for a selected composite or PVC board. Picture frames, breaker boards and diagonal patterns also require intentional support.
6. Check flatness, slope and drainage
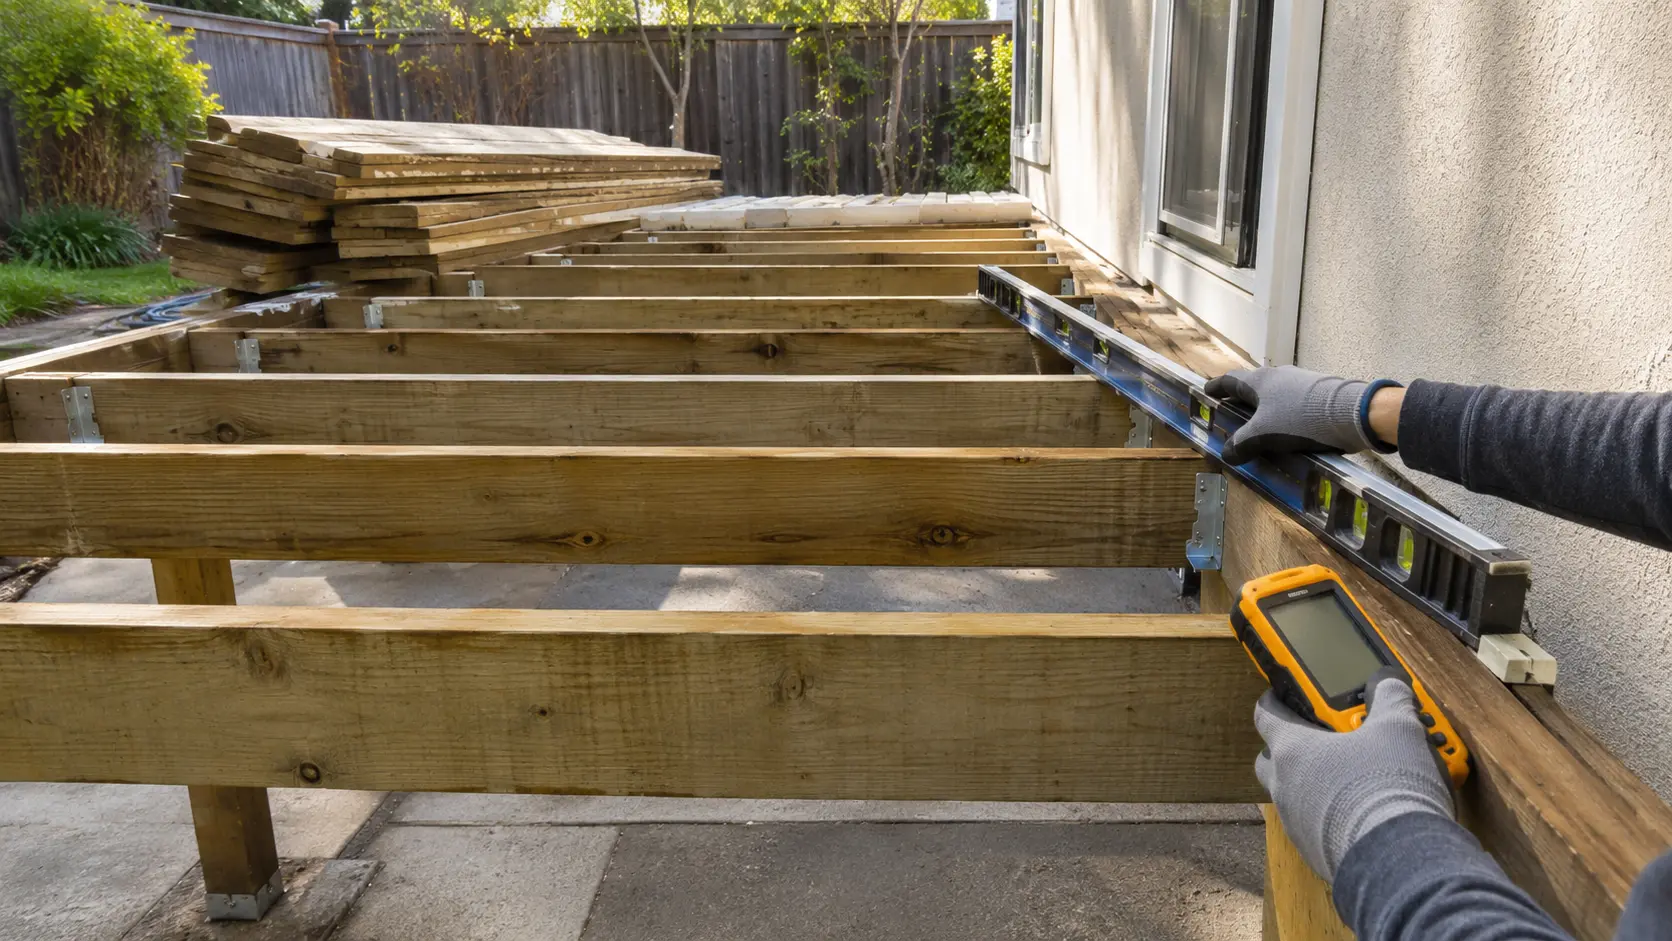
Low-maintenance boards do not correct a wavy frame. Sight across the joists and use a straightedge to identify high crowns, settlement and inconsistent planes.
Also check where water will go:
- Away from the house connection
- Through board gaps without collecting on framing
- Past beams and post bases
- Away from the foundation and stair landing
If an under-deck drainage system is planned, it must be coordinated with joists, fasteners, electrical work and the manufacturer’s details before boards are installed.
7. Evaluate stairs and rail blocking
New railing may create different loads and connection requirements. Confirm solid blocking for guard posts and inspect stair-stringer spacing against the selected decking instructions.
Do not assume old stair framing can accept a new surface simply because the treads are the same width.
8. Plan every board transition
Before installation, draw the board layout and identify:
- Perimeter picture frame
- Breaker boards
- Butt joints
- Stair nosing
- Fascia
- Posts and railing penetrations
- Hatches or service access
Every transition needs framing beneath it. Adding support after half the surface is installed wastes time and can compromise fastening.
9. Decide what should be replaced now
Separate findings into three groups:
- Must replace: decayed, split, undersized or improperly connected structural members.
- Should improve: drainage, blocking, flatness, flashing and hardware that could shorten the life of the new finish.
- Optional upgrade: layout, lighting, railing style, fascia and future shade preparation.
The goal is not to make old framing look new. It is to make sure the retained structure can responsibly support the planned finish and use.
Keep a concealed-work record
Once new boards cover the frame, good documentation becomes valuable. Save:
- Before-and-after framing photos
- Product labels and receipts
- Connector and fastener specifications
- Permit and inspection records when applicable
- Manufacturer installation instructions
- Warranty registration and color/collection details
This information helps with future service, warranty questions and resale.
Yellowstone Renovation can inspect an existing structure, price necessary corrections and compare resurfacing with a full deck installation. Explore composite deck options or request a site visit before ordering finish boards.