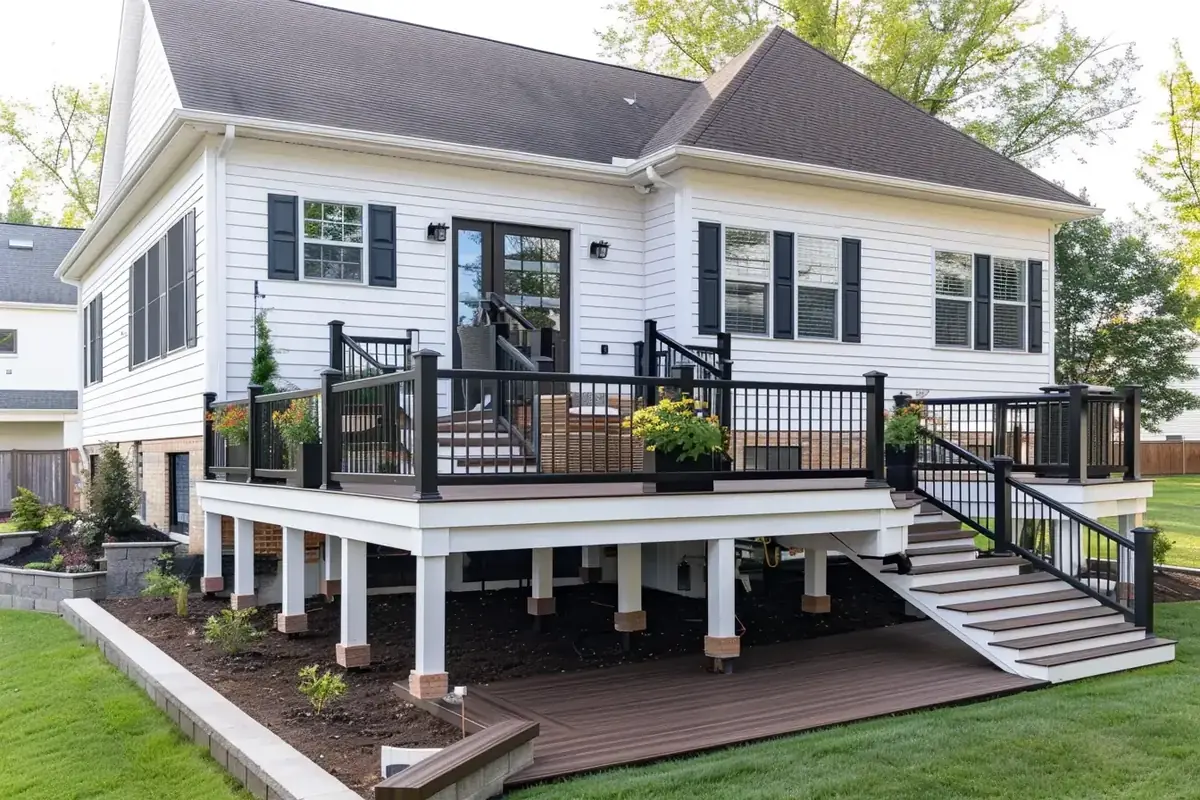
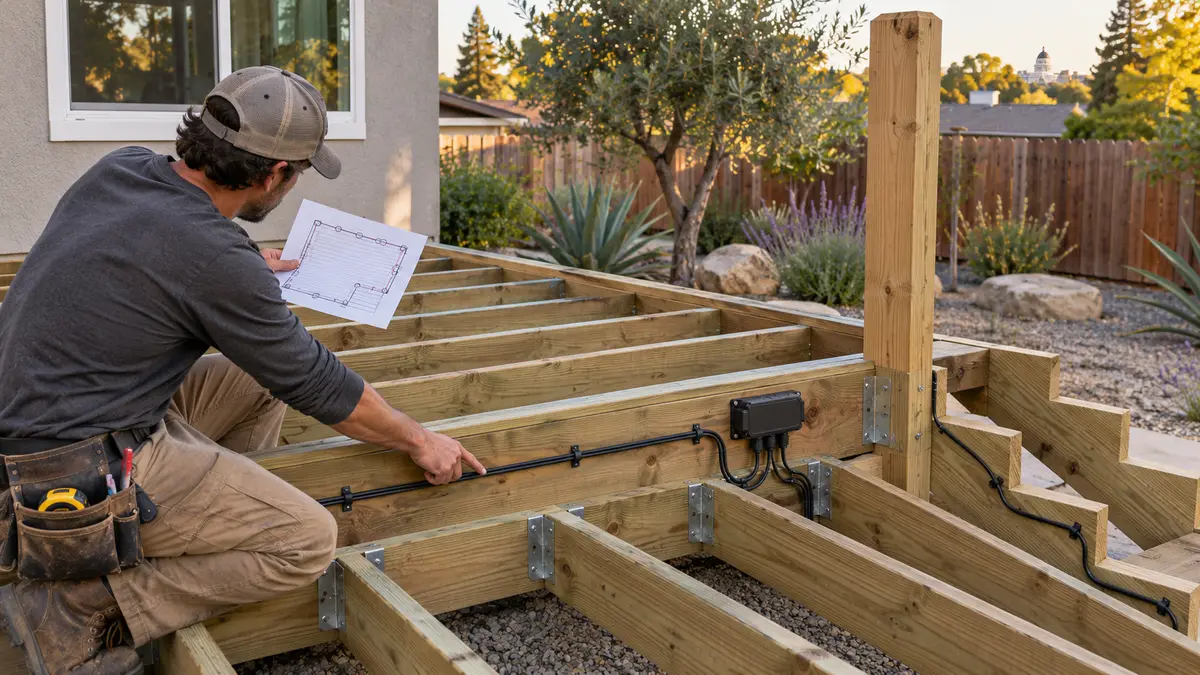
Plan deck lighting while the framing is open—not after the last board is fastened. Before decking goes down, decide what each light must accomplish, mark every fixture on the deck plan, select a compatible low-voltage system, locate the transformer and controls, and map cable branches, splitters and future service access. This sequence keeps wires out of pinch points and makes stair, rail and recessed fixtures much easier to install and troubleshoot.
This guide covers design coordination, not electrical installation instructions. Follow the selected lighting manufacturer's current documentation. Work that adds a receptacle, circuit or hardwired equipment may require a permit and a properly licensed electrical professional; confirm the scope for the project address.
Start with the task, not the fixture catalog
A useful lighting plan begins with how the deck will be used after sunset. Walk the proposed layout and identify the places where someone needs to see a change in direction, a step, a door, a cooking surface or the deck edge. Then add softer light only where it improves comfort.
Create separate zones on the plan:
- Stairs and level changes: light the walking surface without aiming a bright point source into someone's eyes.
- Doors and work areas: coordinate deck fixtures with existing wall lights so the doorway, grill or serving area is not left in shadow.
- Rail and perimeter: use restrained post-cap or under-rail lighting to describe the boundary rather than turning every post into a beacon.
- Seating: favor indirect, dimmable light that does not shine at seated eye level.
More fixtures are not automatically safer or more attractive. A temporary night test with representative fixtures can reveal glare, dark gaps and reflections before holes are drilled. It also helps distinguish a path-lighting need from decorative lighting.
Put every fixed element on one drawing
Use a dimensioned deck plan, even for a modest platform. Mark the house wall, door swing, stair width, rail posts, picture-frame border, breaker-board locations, framing direction, beams and any future cover posts. Add furniture, grill clearances and planters so a fixture is not placed where it will be blocked.
The lighting overlay should show:
- each fixture type and location;
- transformer and control location;
- branch routes and approximate cable lengths;
- splitters or junction points allowed by the selected system;
- penetrations through posts, risers or decking; and
- a reachable path for replacement and testing.
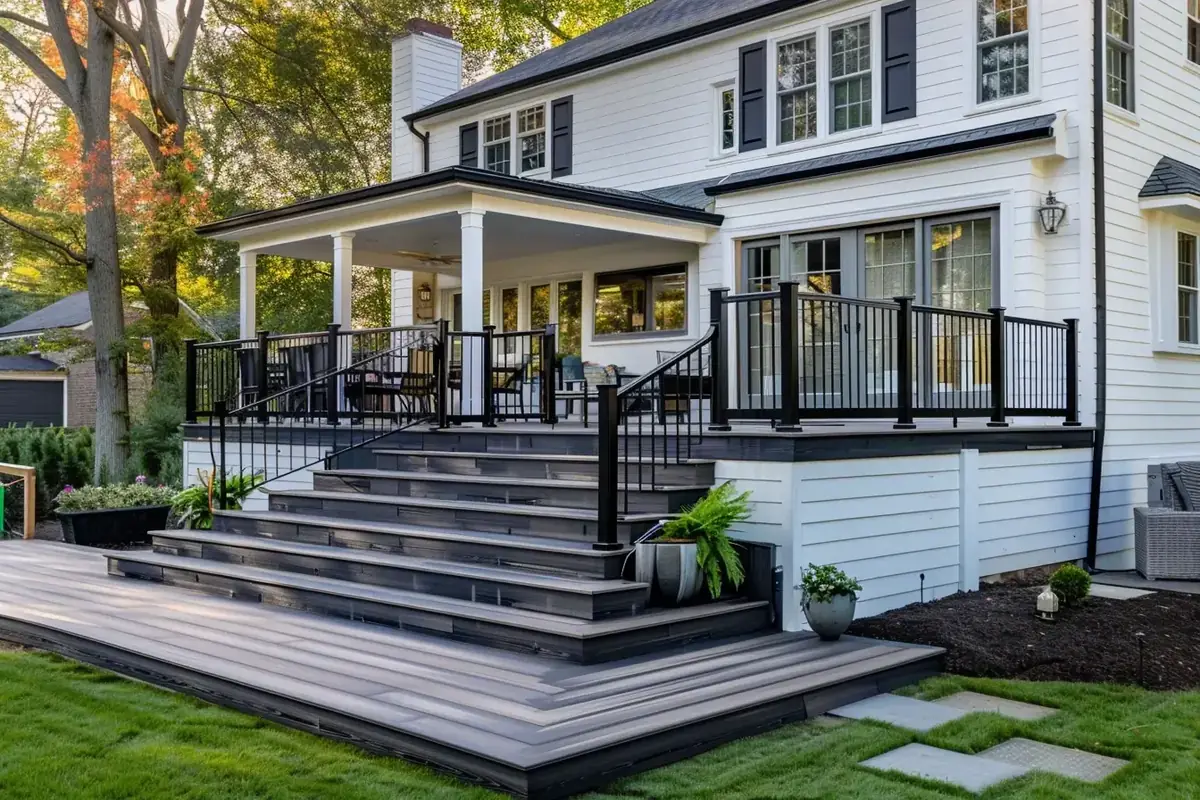
This is especially important with a picture-frame border. A recessed light that looks centered on the overall deck can conflict with a border seam, hidden blocking or a fastener line. Final fixture coordinates should be checked against the approved framing and board layout, not only the architectural sketch.
Choose one compatible system before rough-in
Low-voltage deck-lighting products are not interchangeable simply because their connectors fit or their labels mention LEDs. Confirm the required voltage and whether the system uses AC or DC output, then match the transformer, controls, cable, splitters and fixtures to the manufacturer's instructions.
Trex's current installation guidance, for example, uses a 24-volt DC system and calls for a wiring plan that identifies fixtures, splitters and extension wires. Its instructions warn against mixing AC and DC fixtures on the same circuit. Other manufacturers may specify a different voltage, topology or connector system. The project should follow the documentation for the actual products being installed rather than borrowing details from another brand.
Transformer sizing also depends on the fixtures and branch arrangement. Make an inventory with each fixture's stated load, include every planned branch and use the manufacturer's sizing method. Leave room only when the manufacturer permits it; guessing at a larger transformer is not a substitute for a calculated layout.
Decide where power and controls will live
The transformer needs a location that complies with its listing and instructions while remaining practical to operate and service. Before framing closes, confirm:
- where approved power will come from;
- whether the transformer is plug-in or hardwired;
- weather exposure and required mounting clearances;
- access to a timer, photocell, dimmer or smart control;
- the longest cable run and how branches return to the transformer; and
- whether a future patio cover or landscape-lighting plan should remain separate.
Do not hide service equipment behind permanent skirting or in a cavity that cannot be reached without removing deck boards. At the same time, keep it away from normal foot traffic, irrigation spray and places where furniture will strike it.
The City of Sacramento lists decks among projects that may require a building permit and identifies new electrical circuits as minor-permit work. Sacramento County similarly advises owners to confirm regulated electrical work with its building division. The exact approval path depends on the address and scope, so verify it rather than treating “low voltage” as a blanket exemption.
Route cable while the joists and stairs are open
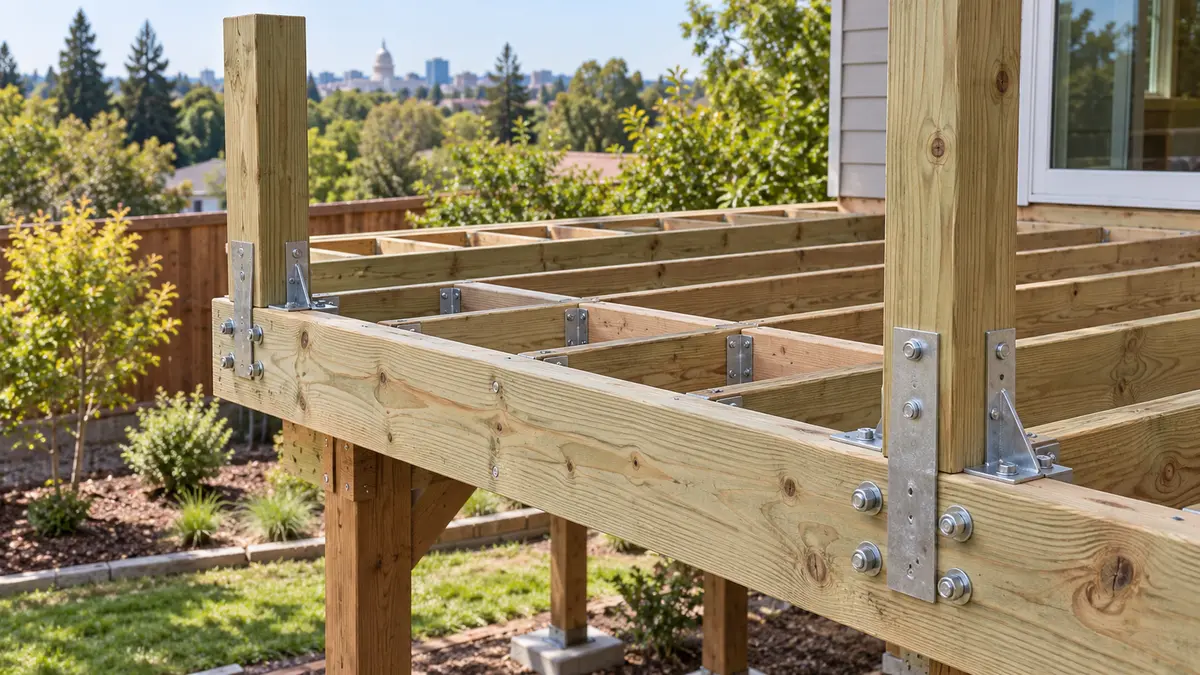
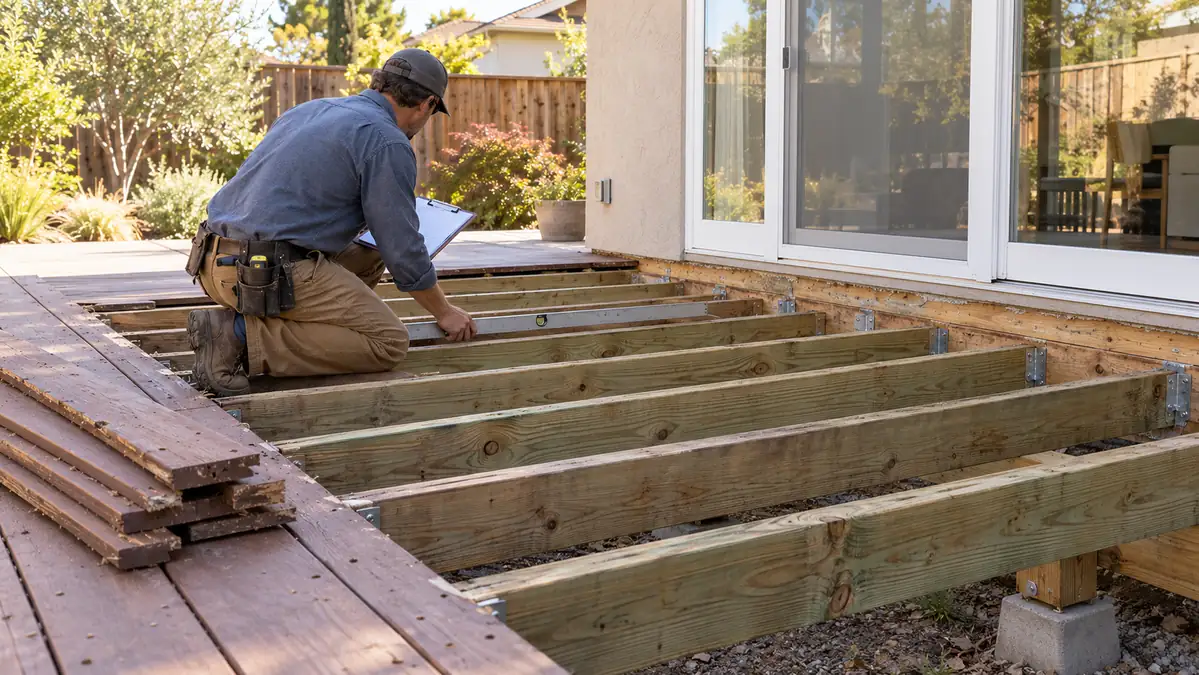
Open framing provides access that disappears quickly on a low deck. Route cable on protected framing surfaces and preserve access to system connections. Do not place wiring between a deck board and joist where fastening or board movement can crush it.
Trex's instructions specifically recommend installing wiring and splitters before decking and railing, mounting them on the inside of framing, avoiding railing brackets, and not driving staples tightly enough to crush the insulation. They also call for wiring behind stair stringers and risers. Those are product-specific instructions, but they illustrate why the exact system must be selected before rough-in.
Coordinate the cable route with:
- structural connectors and future blocking;
- board fasteners and plugs;
- rail-post bolts and brackets;
- stair-tread and riser fasteners;
- drainage membranes or under-deck systems; and
- access panels in any skirting or finished underside.
If the deck will receive an under-deck drainage system, lighting cable and penetrations must be coordinated with that manufacturer's details. Do not improvise holes through a water-management layer.
Sequence each fixture with the component around it
Different fixtures have different last responsible moments:
Recessed deck-board lights
Confirm the board layout, fixture diameter, edge clearances and underside access before drilling. Keep the light away from board ends, seams, hidden fasteners and high-traffic furniture legs. A replaceable fixture should not require dismantling the deck.
Post-cap and rail lights
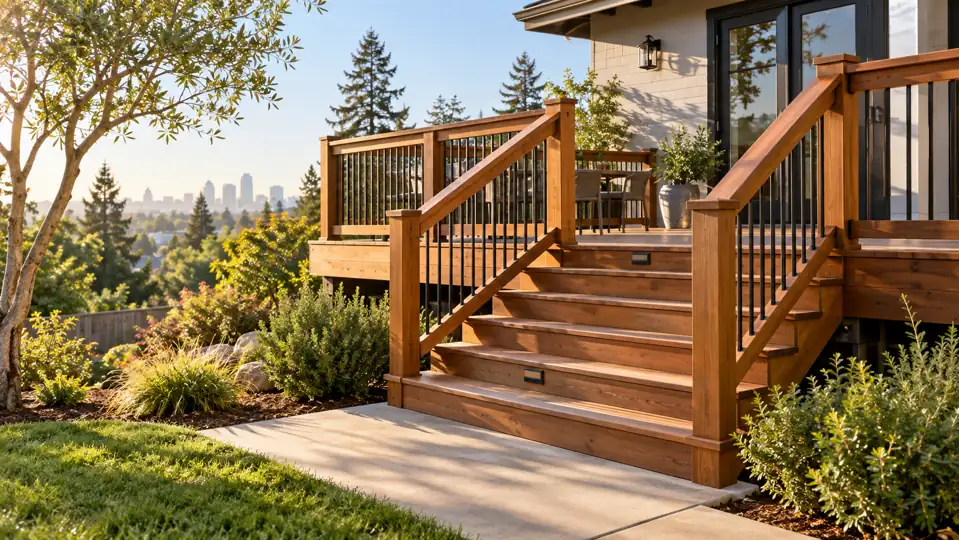
Route the lead before rail hardware occupies the post. Mark bracket and bolt zones, leave only the service length allowed by the instructions and protect connectors from water exposure.
Stair and riser lights
Set the vertical and horizontal pattern from the final stair geometry. Rough-in is usually easier before treads, riser fascia and stringer trim close the cavity. Test the view from the top and bottom landing to catch direct glare.
Test before covering the work
Photograph every cable run with a tape measure or framing reference visible. Label branches at the transformer and accessible splitters. Then connect and test the system in the sequence required by the manufacturer before decking, fascia or skirting hides it.
A useful pre-cover check confirms:
- every planned fixture operates;
- dimming, timing or photocell controls respond correctly;
- no cable is pinched, stretched or crossing a fastener zone;
- unused approved connections are sealed as instructed;
- splitters and service points remain reachable; and
- the as-built route is saved with the project records.
Testing early does not replace the final inspection or nighttime aiming check, but it makes a damaged lead or missed branch much cheaper to correct.
The image above is an original editorial visualization, not a photograph of a Yellowstone Renovation project. See the Sacramento composite deck showcase for a verified local project example.
Deck-lighting planning FAQ
Can low-voltage lights be added after a deck is finished?
Sometimes, especially when the underside remains accessible. A low deck, closed skirting, finished ceiling or concealed stair assembly can make later routing and service difficult. Planning before boards and railing are installed gives the team more protected route options.
Should lights be placed on every rail post?
Not automatically. Choose locations according to walking tasks, edges, glare and the fixture's actual output. A restrained pattern often reads more clearly than uniform bright points around the whole perimeter.
Does low-voltage deck lighting need a permit in Sacramento?
Permit needs depend on the complete scope. The City lists decks as permit-relevant work and new electrical circuits as minor-permit work. A plug-in listed system may differ from a new receptacle or hardwired circuit. Confirm the address and design with the applicable building department before work begins.
Coordinate the deck and lighting as one scope
Yellowstone Renovation can organize a Sacramento deck plan around framing, board layout, railing, stairs and lighting coordination before finishes close the work. Explore our Sacramento deck-building service and Sacramento city deck contractor page, review the related guide to planning deck shade before construction, then request an on-site estimate.