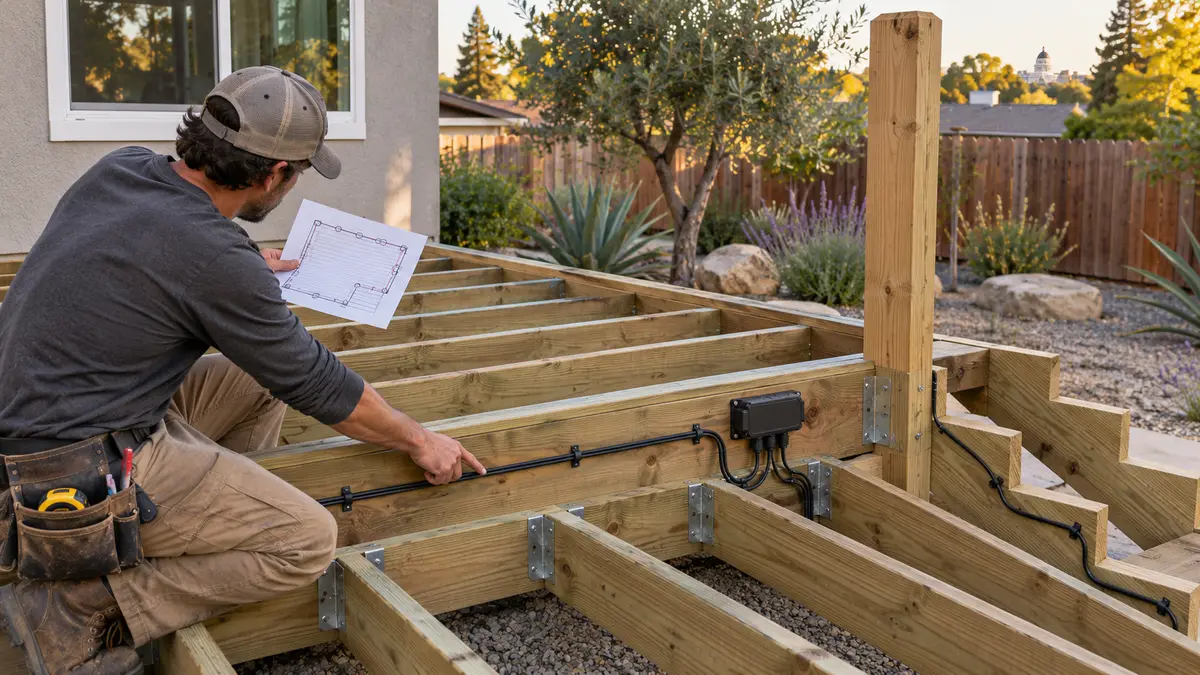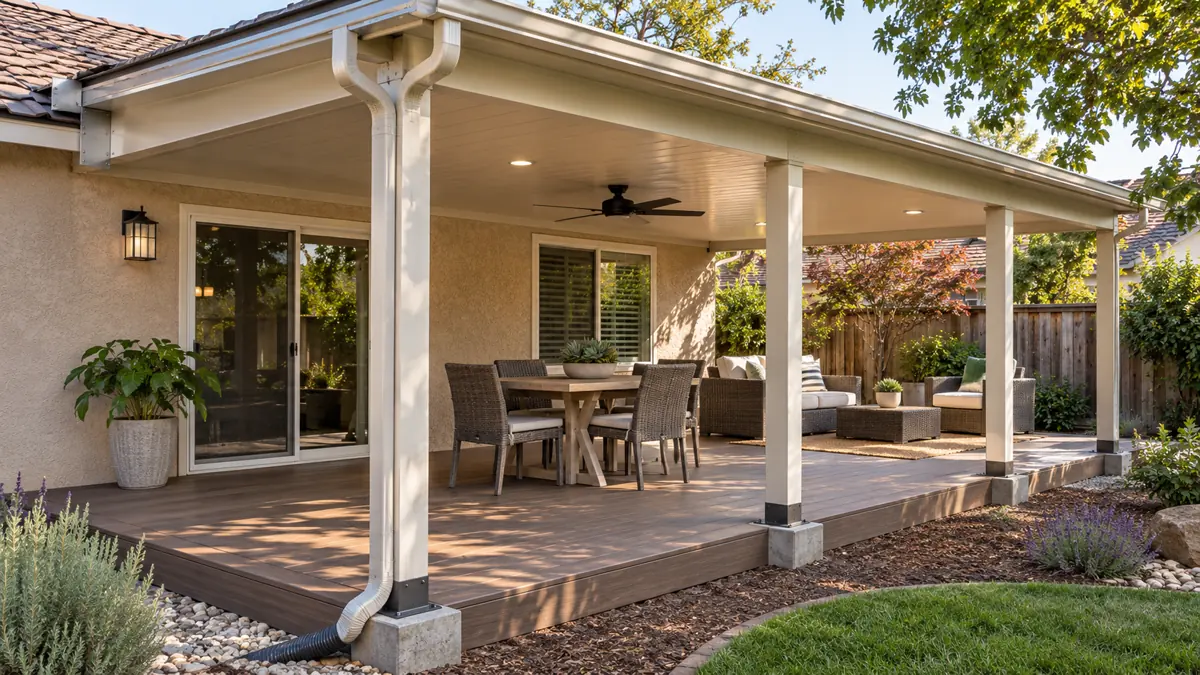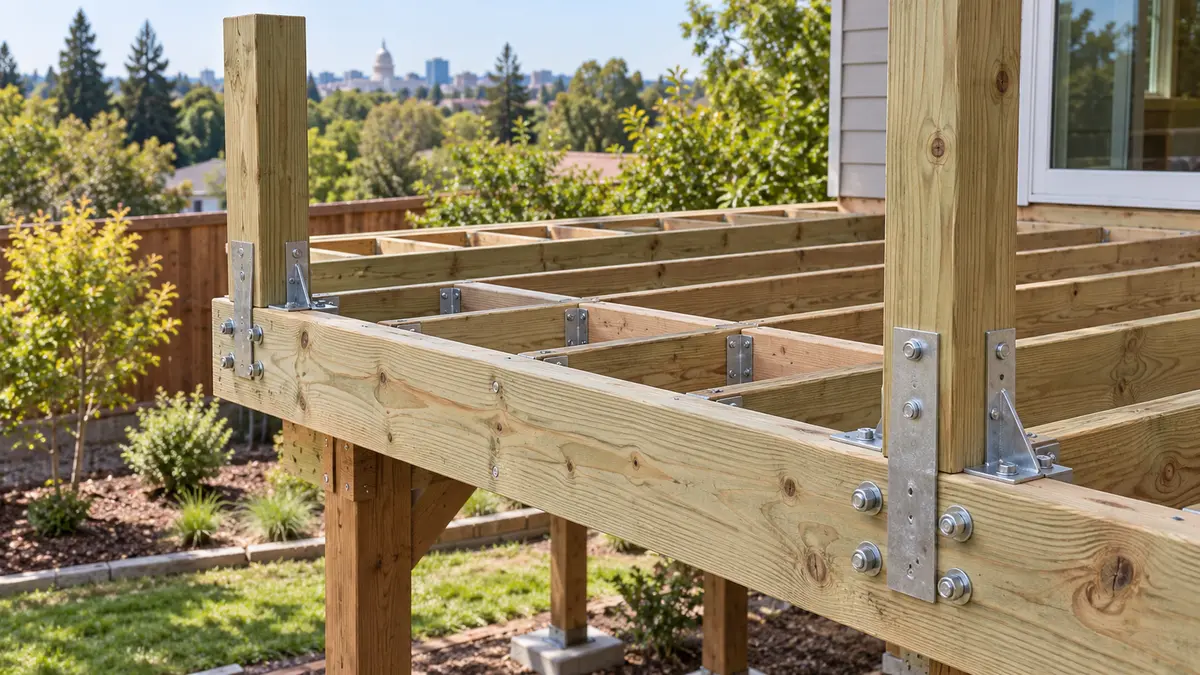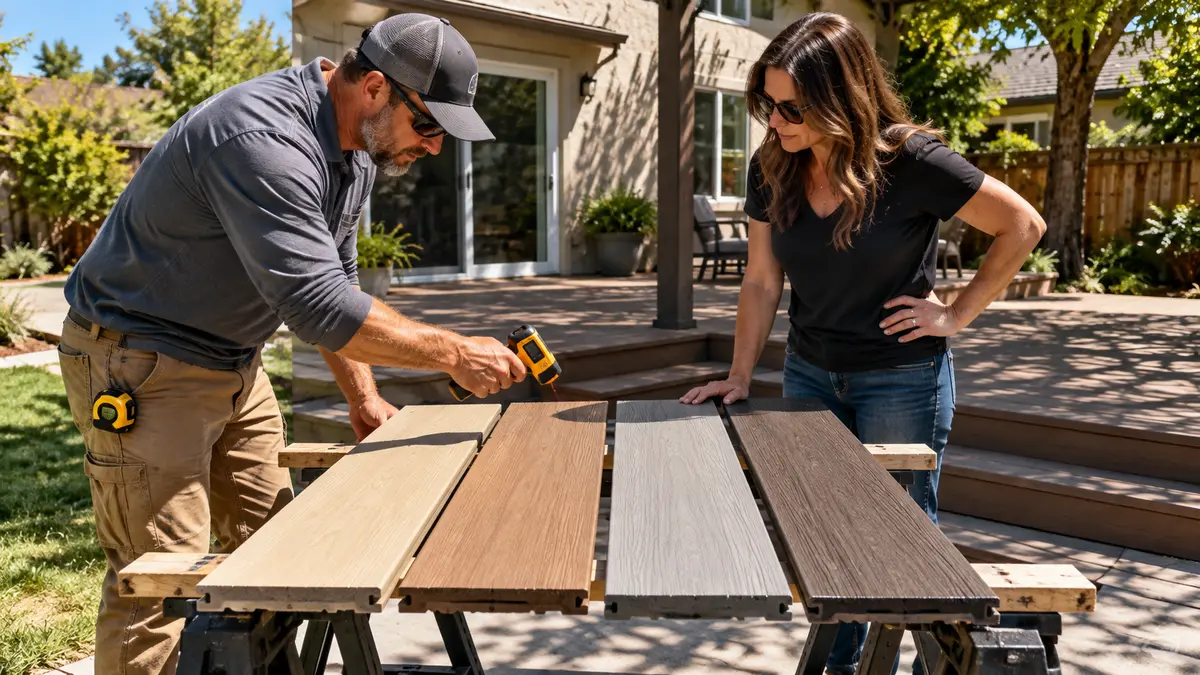
Do not rush a wood-deck finish onto a damp, dirty or structurally questionable surface just because rain is approaching. A sound Sacramento fall sequence is to inspect first, identify the existing finish, complete needed repairs, clean without damaging the wood, let the boards dry, prepare a test area and apply only when the selected product's label and the forecast provide the full required weather window. If that window has closed, protect drainage and postpone the coating rather than trap moisture or gamble on adhesion.
This article focuses on preparing an existing wood walking surface for a compatible finish. It does not replace a structural inspection, and it is not a universal recipe for every stain, sealer, paint or wood species.
First decide whether this is a finish job or a repair job
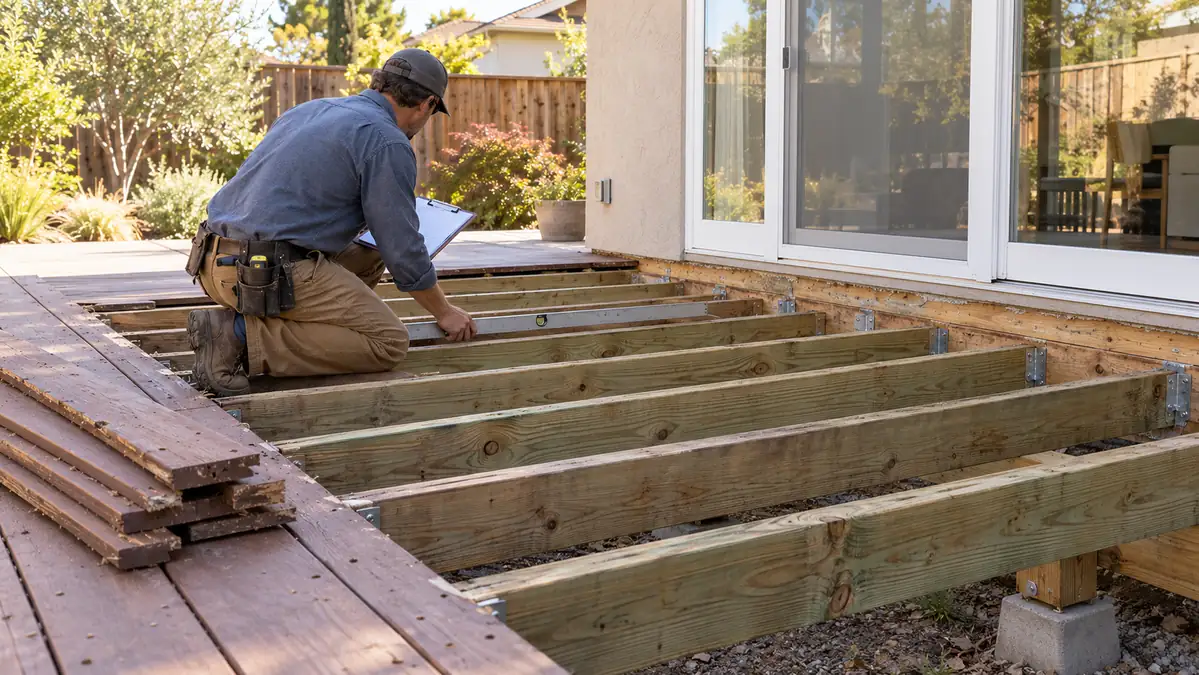
A new coating can improve appearance and slow weathering, but it cannot stabilize a loose guard, rebuild a decayed board or correct water entering at the house connection. Before washing or sanding, remove furniture and inspect the deck in dry daylight.
Pause the finish project and request a qualified assessment if you find:
- a guard, stair or board that moves unexpectedly;
- soft or crumbling wood, especially near fasteners and end grain;
- a widening gap or persistent staining where the deck meets the house;
- split framing, heavy connector corrosion or a leaning support; or
- drainage that repeatedly holds water against wood or the building.
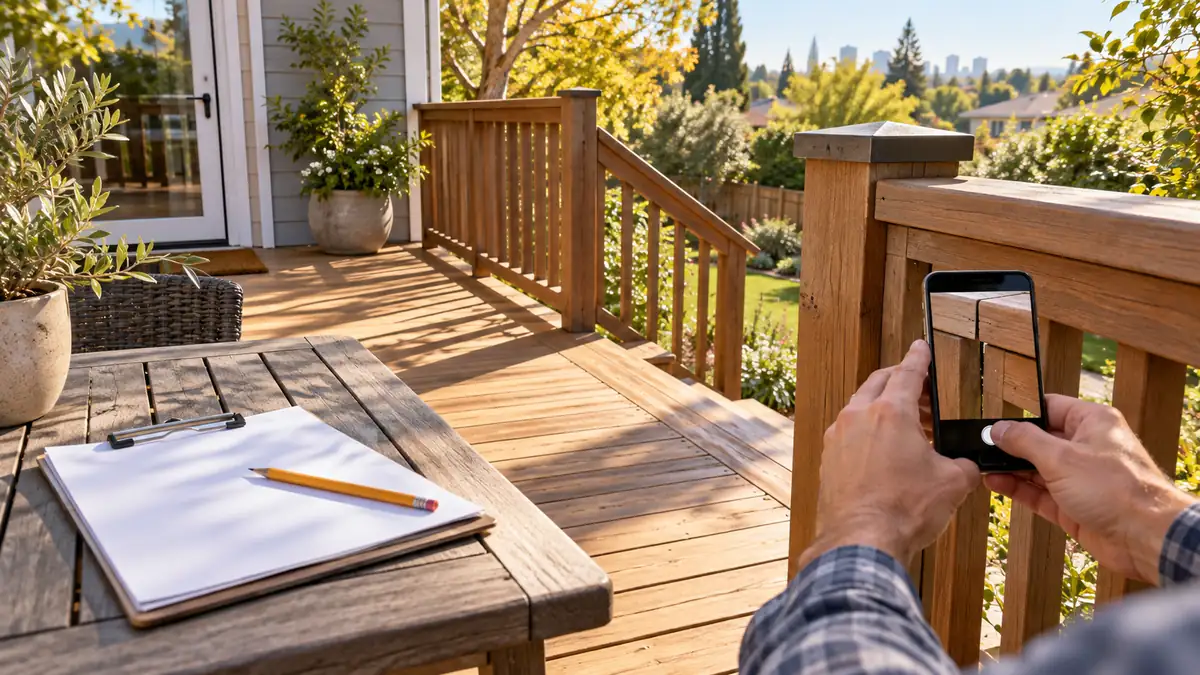
Our after-summer deck inspection guide explains what to photograph before conditions change. If the surface boards may need replacement, use the deck-framing inspection checklist before assuming the existing structure can remain.
Identify the wood and the coating already on it
Preparation depends on what is present now. A penetrating semi-transparent stain behaves differently from a film-forming solid-color coating. A clear water repellent, paint and an unknown older product may each require a different cleaner, remover, primer or recoat procedure. New boards mixed into an older deck can also absorb finish differently.
Record the current product name and color if they are known. Photograph a shaded area, a sun-exposed board and any peeling or glossy sections. If the coating is unknown, do not choose a remover or topcoat solely from an online color sample. Take those observations to the finish manufacturer or a knowledgeable supplier and confirm compatibility in the written product data.
The U.S. Forest Service's wood-finishing guidance emphasizes that outdoor finish selection should account for the wood, exposure, desired appearance and protection. It also explains that weathering changes a wood surface; simply coating over loose fibers or a failing film does not restore a sound substrate.
Plan backward from the product label and forecast
“No rain while I am working” is not enough. The deck needs time for cleaning water to leave the wood, the finish needs acceptable application conditions, and the coating needs its specified protection time before rain, dew, irrigation or foot traffic.
Before starting, read the exact label and technical data sheet and note:
| Requirement | What to confirm for the selected product |
|---|---|
| Surface condition | Cleanliness, dryness and any wood-moisture limit |
| Temperature | Acceptable surface and air range during application and cure |
| Weather exposure | Required rain-free interval and restrictions for dew or direct sun |
| Existing coating | Whether it must be stripped, dulled, primed or can be recoated |
| Application | Tools, spread rate, number of coats and treatment of end grain |
| Return to service | Time before furniture and normal foot traffic return |
These values are product-specific. Do not substitute a generic online waiting time. Check a current point forecast close to the property and remember that a shaded deck can stay cooler and damp longer than a sunny weather station.
Clean the deck without creating a new problem
Start dry. Sweep leaves, dirt and debris from the boards, joints and stair corners. Remove or protect items below the deck that could be affected by runoff. Cover adjacent materials and plants only as directed by the cleaner and finish manufacturers, and do not leave non-breathable protection trapping moisture against the house or deck.
Choose a cleaner or coating remover that matches the wood and existing finish. Test it in a small, inconspicuous area. Use the dilution, dwell time, agitation, neutralization and rinsing steps on the product instructions. Mixing household chemicals or improvising a stronger solution can damage wood, nearby finishes and landscaping and can create a safety hazard.
High-pressure washing is not a shortcut. Excess pressure, a concentrated tip or working too close can raise fibers and cut visible lines into the boards. The Forest Products Laboratory recommends a clean surface and removal of loose material; the method still has to preserve the substrate. A soft or appropriate synthetic-bristle brush and controlled rinse are often easier to manage.
Keep wash water out of storm drains
Sacramento stormwater guidance says to sweep pavement before hosing or pressure washing and protect nearby storm-drain inlets from sediment. Plan containment and disposal for coating residue, cleaner and wash water according to the product instructions and applicable local rules. Do not send colored runoff, wood fibers or stripped coating into the street gutter.
Let the wood dry, then prepare the surface
After cleaning, allow the deck to dry under conditions that satisfy the selected finish. Appearance alone is unreliable: the top can look dry while joints, end grain and shaded boards retain more moisture. If the product specifies a wood-moisture threshold, use a suitable calibrated meter as directed and check representative sunny, shaded and repaired locations. Record the readings instead of choosing one convenient spot.
Once the deck is dry, address raised fibers, rough transitions and sound coating edges using the abrasive and grit range recommended for the finish system. Sanding dust must be removed without rewetting the surface unless the instructions require it. Drive or replace fasteners only within an appropriate repair scope; do not bury a structural concern beneath filler and stain.
Pay particular attention to:
- board ends and checks that absorb differently from face grain;
- previously coated areas that remain glossy;
- replacement boards with a different color or surface texture;
- rail caps, stair nosings and other high-exposure edges; and
- joints where debris or coating can block drainage.
Make a test area before committing to the deck
Apply the complete proposed system to a small representative area, including any cleaner, remover, brightener, primer and finish. Let it dry for the time stated by the manufacturer, then judge color, sheen, absorption and adhesion in both shade and daylight.
A test patch cannot prove the life of a coating, but it can reveal incompatibility, unexpected color or uneven absorption before the whole deck is covered. If the patch remains tacky, peels, turns blotchy or does not match the product's expected result, stop and diagnose the cause rather than adding another coat.
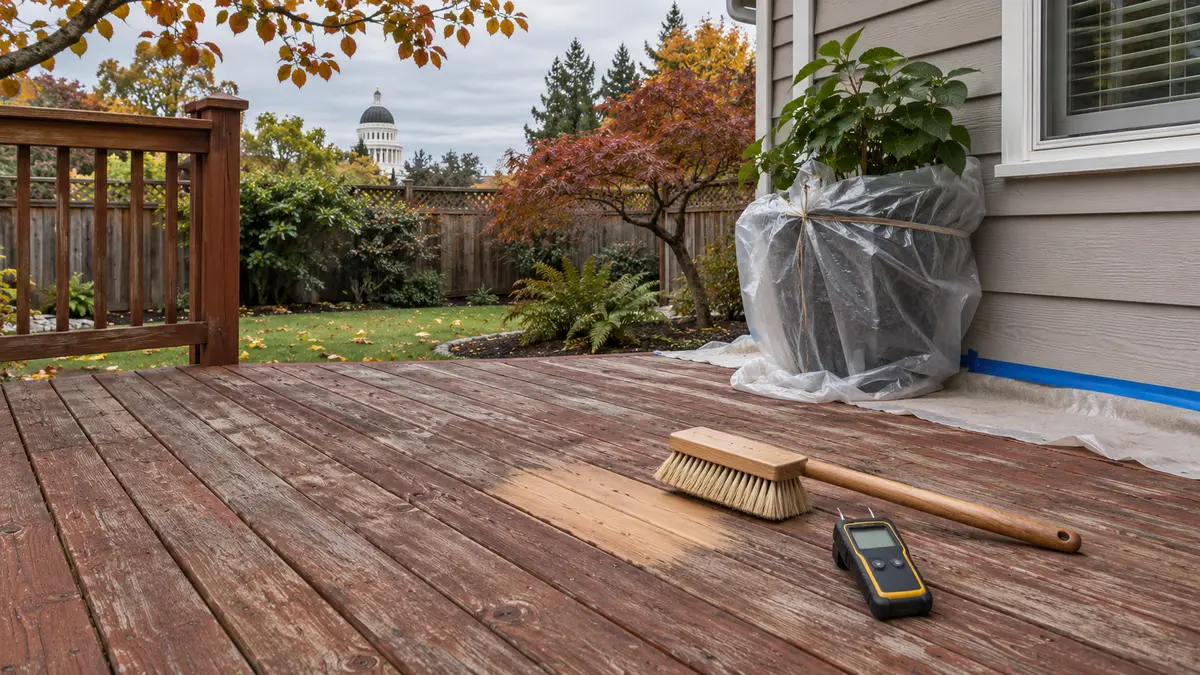
The image for this article is an original editorial visualization, not a photograph of a Yellowstone Renovation project. For an actual local example of the company's construction work, see the Sacramento composite-deck project showcase.
Know when postponing is the better decision
Late fall is not automatically the right time to coat every deck. Postpone when the wood cannot dry to the product requirement, the forecast does not provide the full application-and-cure window, irrigation cannot be controlled, leaves are falling continuously, or repairs are unfinished. In the meantime, keep drainage gaps clear, redirect sprinkler overspray, remove moisture-trapping mats and document any areas that remain damp.
That is different from ignoring the deck. Our broader seasonal deck-maintenance guide covers routine cleaning and post-storm observations. Finish preparation is a separate project with a narrower go/no-go decision.
Wood deck finish preparation FAQ
Can I stain a deck immediately after washing it?
Only if the exact product instructions allow the measured surface condition, which is uncommon immediately after a wet cleaning. Give the wood the required drying time, verify representative areas and follow the label rather than a universal timetable.
Does a water-bead test prove the deck is ready for stain?
No. Beading can offer a clue about repellency, but it does not identify the old coating, confirm compatibility, prove the wood is dry or replace the selected product's preparation instructions.
Should every old finish be pressure-washed off?
No. The removal method depends on the coating and substrate. Excess pressure can damage wood fibers, and some systems require a compatible remover, neutralization and controlled sanding instead. Test the method and follow the product documentation.
What if rain arrives before the finish window is complete?
Do not apply. Keep the deck clean and draining, protect materials as their labels require and reschedule for a suitable window. If a newly applied finish is exposed too soon, consult the manufacturer before recoating or attempting a repair.
Build the scope before buying the finish
Yellowstone Renovation can inspect a wood deck, separate surface maintenance from repair needs and define an appropriate Sacramento-area project scope. Explore our Sacramento deck-building service and local Sacramento deck contractor page, then request an on-site deck estimate. Product selection and application conditions must be confirmed for the actual wood, existing coating and site.