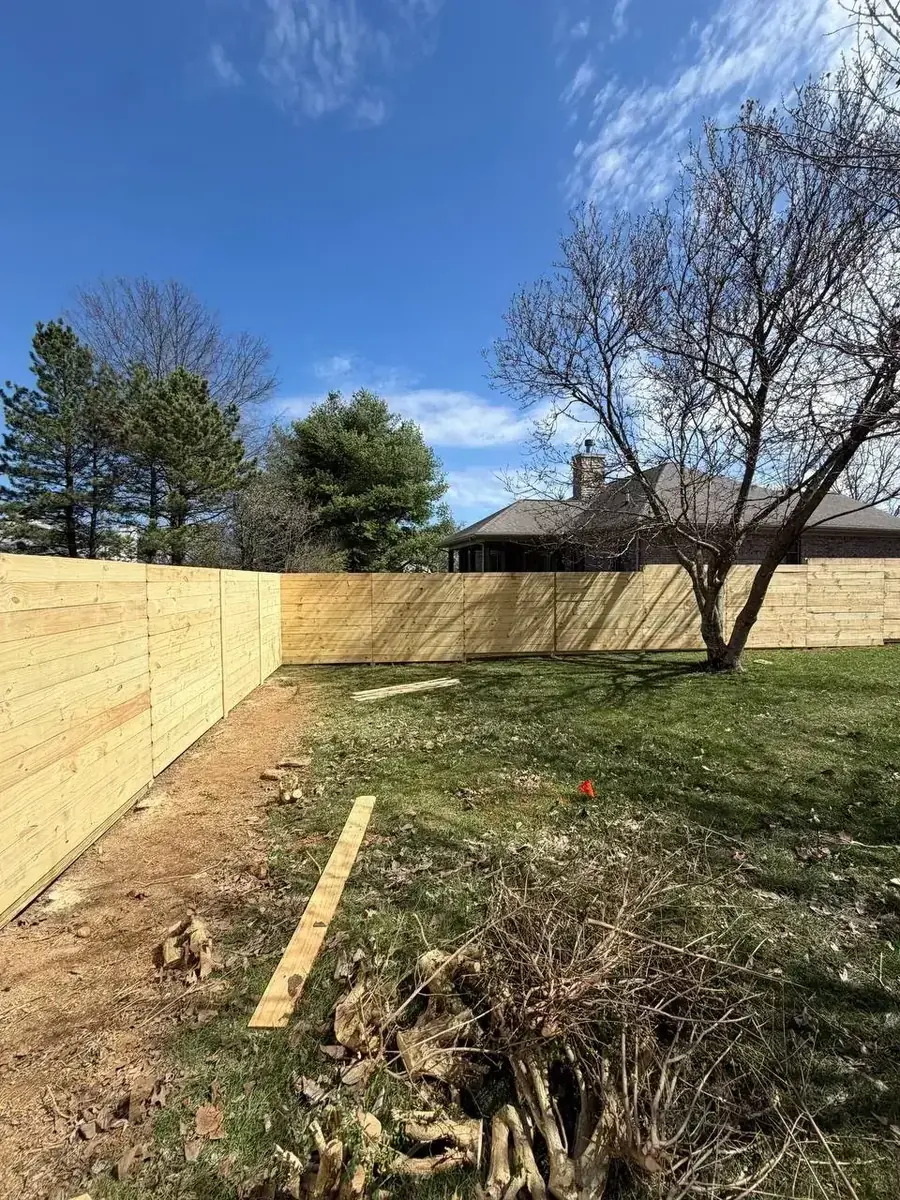
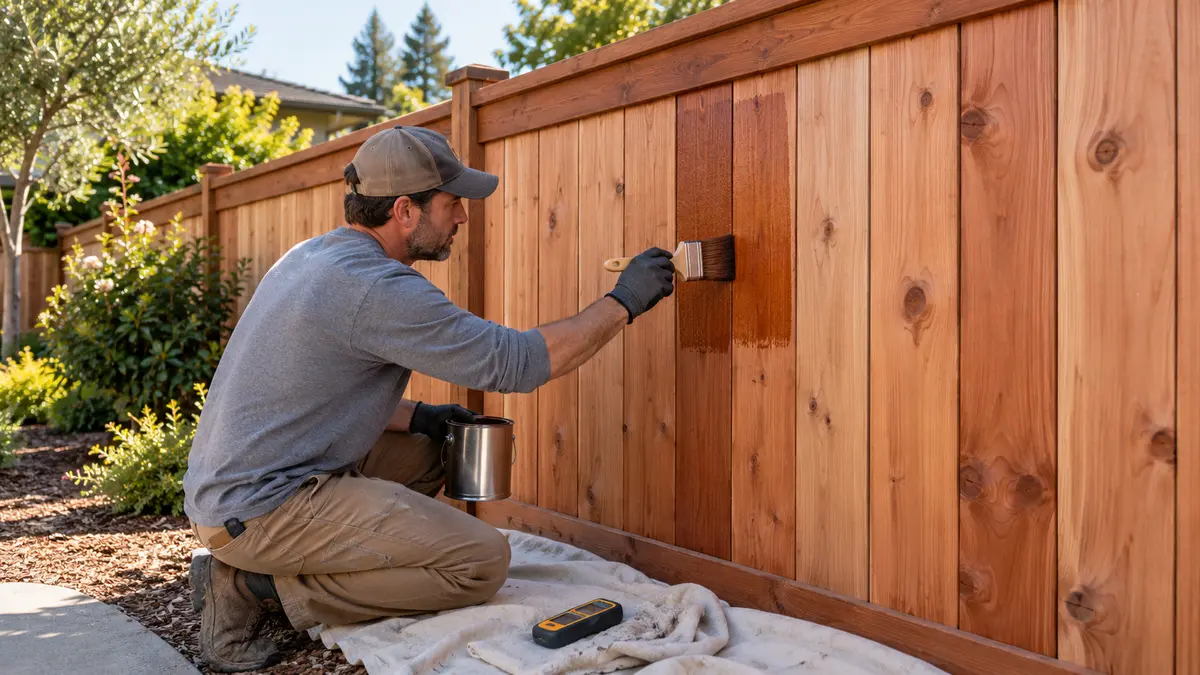
Stain a new redwood fence when the boards are clean, dry, stable enough for even application and able to absorb the selected finish—and when the forecast provides the temperature and rain-free window required on that product's label. There is no single waiting period that fits every Sacramento fence. Lumber moisture, sun exposure, milling, irrigation and the stain system all affect readiness.
The best plan starts before the fence is built: identify who is responsible for finishing, which faces and edges are included, how readiness will be checked, and what happens if weather or wet lumber delays the work.
Decide what you want the finish to do
“Stain the fence” is not a complete specification. Homeowners may be trying to:
- Retain more of redwood's warm color
- Reduce uneven weathering between sunny and shaded areas
- Add a different transparent or semi-transparent tone
- Create an opaque, uniform color with a solid-color product
- Make routine cleaning and future refinishing more predictable
These goals lead to different products and appearance expectations. A clear or lightly pigmented finish keeps more grain visible but does not freeze the wood at its installation-day color. A semi-transparent stain changes the tone while leaving grain visible. A solid-color stain hides more variation and behaves more like an opaque coating.
Do not assume “sealer,” “stain” and “paint” are interchangeable. Confirm the exact manufacturer, product line, color, sheen if applicable, number of coats and approved application method in writing.
Why a fixed waiting period is unreliable
New fence boards do not all arrive with the same moisture content or surface condition. One delivery may be ready relatively soon; another may contain wetter boards, shaded sections or surfaces compressed during milling. Sacramento sun can dry the exposed face quickly while the shaded face and areas behind rails change more slowly.
A calendar rule such as “always wait 30 days” ignores:
- The moisture condition when the lumber was delivered
- Board thickness, grade and grain
- Shade, orientation and airflow on each fence run
- Sprinkler overspray or soil moisture
- Recent cleaning or rain
- The selected finish manufacturer's requirements
Use the product instructions as the controlling standard. If the label specifies a moisture limit, test representative boards with a suitable meter and document the readings. Check both sunny and shaded runs, plus boards near irrigation—not only one convenient picket beside the gate.
Use the absorption test only when the product allows it
Some coating manufacturers describe a small water-drop or splash test as a basic indicator of whether wood is absorbing water rather than immediately repelling it. That can be useful, but it is not a universal substitute for the product data sheet, moisture readings or surface inspection.
Perform any readiness test exactly as directed by the selected finish manufacturer. Test several inconspicuous locations because the smooth face, rough face, cap board and replacement pickets may not absorb at the same rate.
Prepare new redwood instead of treating it as automatically clean
New lumber may have sawdust, dirt, handling marks, surface fibers, mill glaze or extractive discoloration. Applying stain directly over those conditions can create uneven color or weak adhesion.
A responsible preparation sequence should address:
- Construction completion. Finish board replacement, fastener corrections, gate adjustment and cap or trim installation first.
- Irrigation control. Redirect sprinklers and stop recurring wetting before evaluating dryness.
- Surface inspection. Identify dirt, pencil marks, metal staining, mildew-like spotting, old coating and damaged fibers rather than using one chemical for every discoloration.
- Product-approved cleaning. Use the cleaner and dilution permitted by the finish manufacturer; protect plants, masonry, metal and adjacent painted surfaces.
- Thorough rinsing and drying. Cleaner residue and water left in the wood can interfere with the finish.
- Targeted sanding. Smooth raised fibers, splinters or problem areas as directed, then remove dust.
- Test patch. Confirm color and absorption on the actual fence before coating the whole run.
BEHR's current exterior wood-stain guidance, for example, instructs users to prepare new wood, address mill glaze, allow the surface to dry completely and follow its stated application temperature and rain restrictions. That is useful product-specific guidance, not a universal instruction for every stain brand.
Inspect fasteners and redwood discoloration before coating
Redwood contains water-soluble extractives. Dark marks may also develop where incompatible metal, water and wood interact. Covering an unexplained stain with a tinted finish may not stop it from showing again.
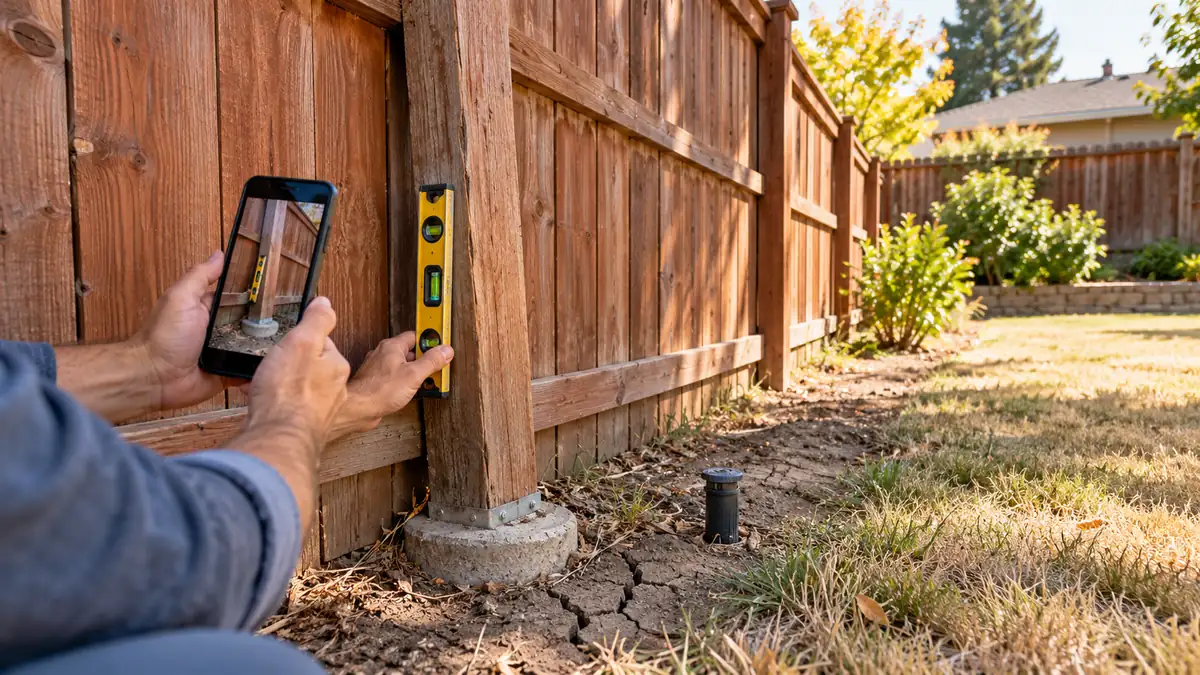
Before finishing, photograph and evaluate:
- Dark streaks beneath fasteners
- Black marks around cut metal or grinding debris
- Water tracks from caps, rails or sprinklers
- Pale sanding patches or cleaner overlap
- Board-to-board color variation
- Sapwood and heartwood differences
- End grain that absorbs faster than broad faces
Use exterior fasteners compatible with redwood and the fence design. If metal staining or extractive bleeding is present, identify the cause and follow the lumber and coating manufacturers' correction process before applying the finish.
Choose a workable Sacramento weather window
Sacramento's dry season may provide many coating days, but direct afternoon sun can heat boards and shorten working time. Shaded sections can remain cool or damp longer. Autumn brings shorter days, overnight moisture and a greater chance that a late application will not receive its full drying or cure window.
Before starting, compare the label requirements with:
- Surface and air temperature during application
- Direct sun on each elevation
- Overnight low temperature and dew potential
- Rain and irrigation during the full required dry/cure period
- Wind that could carry stain onto vehicles, siding, pools or neighboring property
Do not use Sacramento's average climate as proof that today's boards are ready. Check the actual fence and short-term forecast. If conditions fall outside the label, reschedule instead of changing the product with extra thinner or forcing a heavier coat.
Apply for uniformity, not maximum film thickness
More stain is not automatically better. Overapplication can leave glossy patches, tackiness, lap marks or delayed drying. Follow the specified spread rate and coat count for smooth or rough-sawn vertical wood.
Plan natural stopping points at posts or corners. Maintain a wet edge, back-brush where the manufacturer calls for it, and inspect runs at an angle while the material is still workable. Mix containers together when the label recommends boxing material for color uniformity.
Spraying may be permitted for some products, but it introduces overspray control and often still requires back-brushing. The written scope should identify application method and protection for homes, windows, plants, hardscape, pools, outdoor furniture and the neighbor's side.
Confirm which surfaces are included
Fence-staining proposals often differ because they cover different areas. Clarify:
- One face or both faces of every board
- Rails, posts and gate framing
- Caps, trim and lattice
- Board ends and field cuts
- Areas behind plants, sheds or equipment
- The neighbor-facing side and access permission
- Hardware masking and cleanup
A shared fence also needs an agreement about color and access before work begins. Our shared-fence planning guide covers those responsibilities.
Set realistic appearance expectations
Redwood is a natural material. Grade, grain, knots, sapwood, heartwood, sanding and exposure can change how each board accepts a transparent or semi-transparent stain. A sample on one clear board cannot promise identical color across an entire common-grade fence.
The test patch should show:
- The actual stain on the actual installed lumber
- One coat and additional coats only as the label permits
- A sunny and shaded viewing condition
- The expected amount of grain and board variation
- How an older repair board differs from new lumber
If a highly uniform color is the top priority, discuss whether a solid-color system is more appropriate and what preparation it will require at the next maintenance cycle.
Maintenance begins with observation, not a fixed anniversary
Do not promise that every redwood fence must be recoated on one universal schedule. Exposure, irrigation, product, color and preparation vary. Inspect annually and after unusual weather.
Look for:
- Loss of water repellency where the finish is intended to provide it
- Uneven fading on sun-facing runs
- Peeling or flaking, which requires diagnosis before recoating
- Mildew-like growth or dirt accumulation
- Sprinkler patterns and persistent damp areas
- Open checks, loose boards, fastener staining and gate movement
Use the coating manufacturer's maintenance and recoat instructions. Clean or repair the underlying condition before adding another coat.
What a redwood fence stain proposal should specify
- Exact finish manufacturer, product and color
- Existing coating, if any, and compatibility plan
- Readiness and moisture-check method
- Cleaning, rinsing, drying and sanding scope
- Test-patch approval process
- Included faces, rails, posts, gates, caps and board ends
- Coat count and application method
- Plant, building, vehicle and hardscape protection
- Weather-delay procedure
- Cleanup and leftover-product handling
- Expected variation and future maintenance guidance
First compare redwood, cedar and pressure-treated fence lumber, then use the Sacramento fence estimate checklist to keep construction and finishing responsibilities in the same written scope.
Plan the fence and finish together
Yellowstone Renovation offers redwood fence installation in Sacramento and broader Sacramento fencing services. Review the Sacramento city service page, see a real Sacramento vertical-fence project and request an on-site fence estimate that clearly identifies wood, construction and finish responsibility.