A fence that starts leaning after a dry Sacramento summer does not have one automatic diagnosis. The post may be sound while the footing moves in dry soil; the wood may be decayed at the ground line; irrigation may be keeping one side wet; or loose rails may make a stable post look crooked. Check the movement pattern, post base and water source separately before deciding what to repair.
Do not push hard on a severely leaning fence or stand where a section could fall. Keep children and pets away from an unstable run, especially near a gate. A homeowner inspection should document visible conditions—not excavate around a loaded post or prove that the structure is safe.
First determine what is actually moving
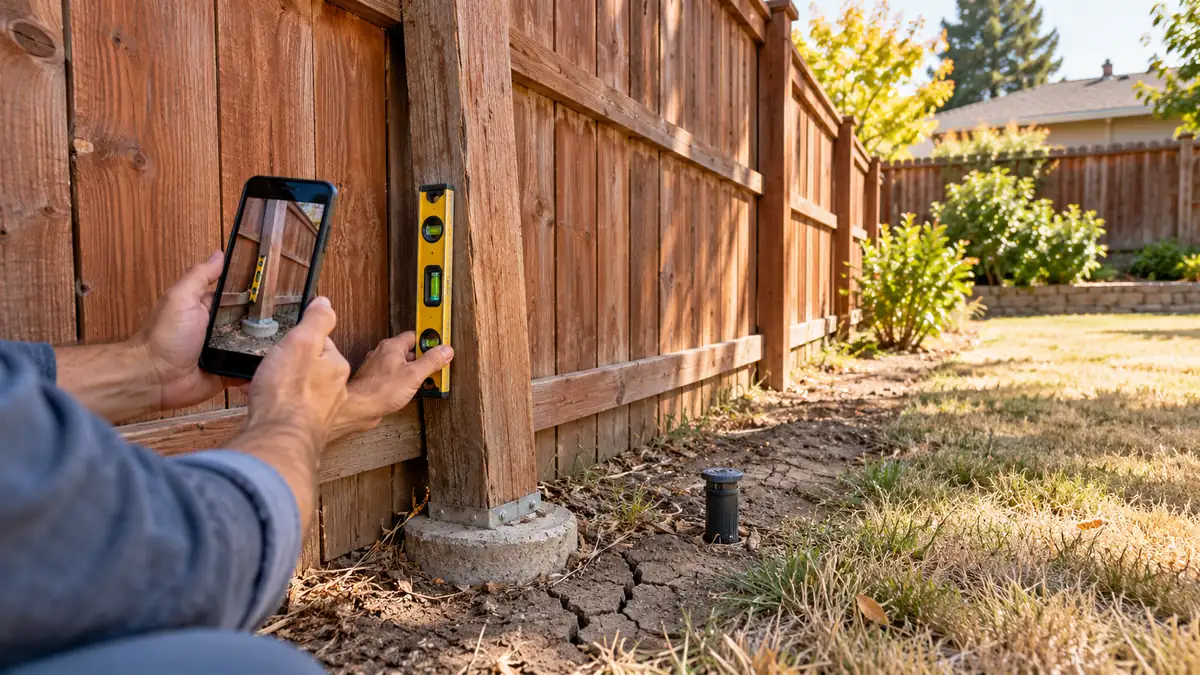
Sight along the fence from both ends and photograph the top line. Then hold a short level against several accessible posts. A single out-of-plumb post suggests a local problem. Similar movement across several posts can point to a wider footing, soil, drainage or age issue.
With light hand pressure only, watch three locations:
- Post at ground level: movement here suggests the buried post, concrete or surrounding soil needs evaluation.
- Rails at the post: movement only at the connection may come from loose or failed fasteners.
- Boards on the rails: warped or loose pickets can distort the visual line even when posts remain stable.
Record whether the post and its concrete move together, whether the wood pivots inside the concrete, or whether only the panel flexes. Those are different repair conversations.
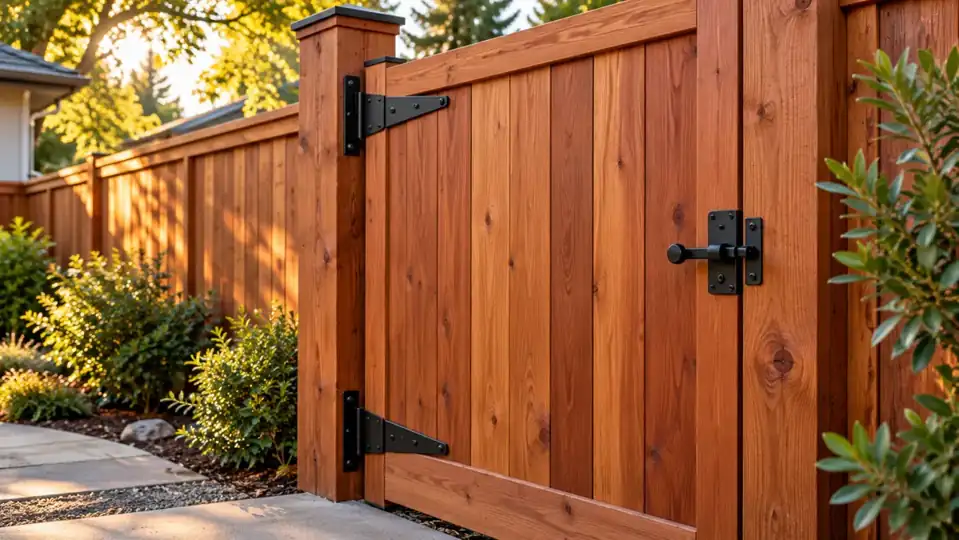
If the problem is concentrated at a gate, use our Sacramento gate-sagging checklist. A gate adds a moving load, so its hinge post deserves a separate check.
Dry soil can reveal movement without proving the cause
Dry weather can open gaps around a footing or expose a footing that was previously tight against the soil. Soil behavior varies by property, fill history, drainage and irrigation; it is not responsible to assume every Sacramento yard has the same soil or that every crack caused the lean.
Photograph gaps at the base with a ruler for scale. Note whether the ground is lower on one side, whether runoff has eroded soil, and whether nearby roots or hardscape constrain the area. Save the photos so they can be compared after the first sustained rain. Do not pack loose soil around a failing post and treat that as a structural repair; it can hide movement without correcting the post or footing.
A contractor should evaluate the complete load path: post, concrete, surrounding soil, rails, panel weight and wind exposure. The goal is to explain why the section moved and what keeps it from moving again.
Check wood at the ground line for decay
Wood posts often look better above grade than at the transition where moisture, soil and debris collect. Look for darkened or soft areas, splitting, fungal growth, missing fibers and a post that narrows where it meets concrete. Examine all accessible sides; a sound face does not prove the hidden side is intact.
Do not aggressively probe a post that supports a leaning section. If gentle contact causes crumbling or obvious movement, stop and arrange an assessment. Paint, stain or a post wrap can conceal the condition underneath.
For replacement work, confirm that the specified wood is rated for its exposure. The American Wood Protection Association identifies UC4A or higher for ground-contact applications, and the treatment marking or end tag provides the intended use. A generic label such as “pressure treated” is less useful than the actual use category and product specification.
Run the irrigation while you inspect
A dry-looking yard can still have one fence post getting wet several times a week. Run each irrigation zone and watch the entire cycle. Photograph:
- Spray striking a wood post, rail or bottom board
- A broken, tilted or blocked sprinkler head
- Water pooling against concrete or soil at the post
- Drip tubing discharging beside the footing
- A wet strip on one side of an otherwise dry fence
The U.S. EPA WaterSense program recommends walking through irrigation zones and checking for broken or malfunctioning components in its Sprinkler Spruce-Up guidance. Redirecting overspray and repairing leaks can remove a recurring moisture source, but it does not restore wood that is already decayed or reset a failed footing.
Avoid creating the opposite problem by soaking the ground beside the fence simply because it has dried. Irrigation should serve the landscape design and be adjusted by a qualified professional when necessary—not used as an improvised structural fix.
Lean, rot and irrigation leave different evidence
| Observation | Likely starting question | Appropriate next step |
|---|---|---|
| Post and concrete move together | Has soil pulled away, eroded or lost support? | Evaluate footing and site conditions |
| Post moves inside concrete | Is buried wood split or decayed? | Plan safe opening and post assessment |
| Wood is soft at grade | How far does deterioration extend? | Keep load off the section; assess replacement |
| One wet post beside sprinkler | Is repeated wetting contributing? | Correct irrigation, then scope damaged material |
| Rails move but post stays plumb | Are connections or rail ends failed? | Inspect fasteners and sound attachment points |
| Several consecutive posts lean | Is failure widespread or is one panel pulling others? | Compare targeted repair with run replacement |
This table is diagnostic, not a structural verdict. Concealed conditions often become clear only after a safe, controlled opening.
What not to do before an estimate
Do not attach a second post, pour a small cap of concrete, or add random screws without identifying the failed component. A brace may create a temporary appearance of stability while transferring load to another weak section. Do not bury wood, raise mulch around it, or direct sprinklers away only for the day of inspection.
Also avoid removing a shared fence post without coordinating access and property-line questions. The existing fence is not automatically the legal boundary. Our shared-fence planning guide covers alignment, neighbor communication and written scope.
Build a useful contractor photo set
Prepare one wide photo of the entire run, one from each side where access is allowed, and close-ups of every moving post. Include the gate, changes in grade, nearby trees, irrigation heads, retaining edges and concrete. Label posts in order—P1, P2, P3—so the estimate can match findings to locations.
Write down:
- When the lean became noticeable
- Whether movement changed during summer
- Which irrigation zones reach the fence
- Whether the gate began dragging at the same time
- Known age, material and past repairs
- Whether the fence is shared with a neighbor
For a broader system decision, review nine signs a fence needs repair or replacement. One failed post can be a localized repair; repeated post, rail and decay problems require a different scope.
What a post-repair estimate should clarify
A useful proposal identifies which posts are included, whether old concrete is removed, the replacement post material and exposure rating, how rails and panels will be supported during work, and how irrigation or drainage conflicts are handled. It should also state what happens if excavation reveals roots, buried concrete, utilities or wider deterioration.
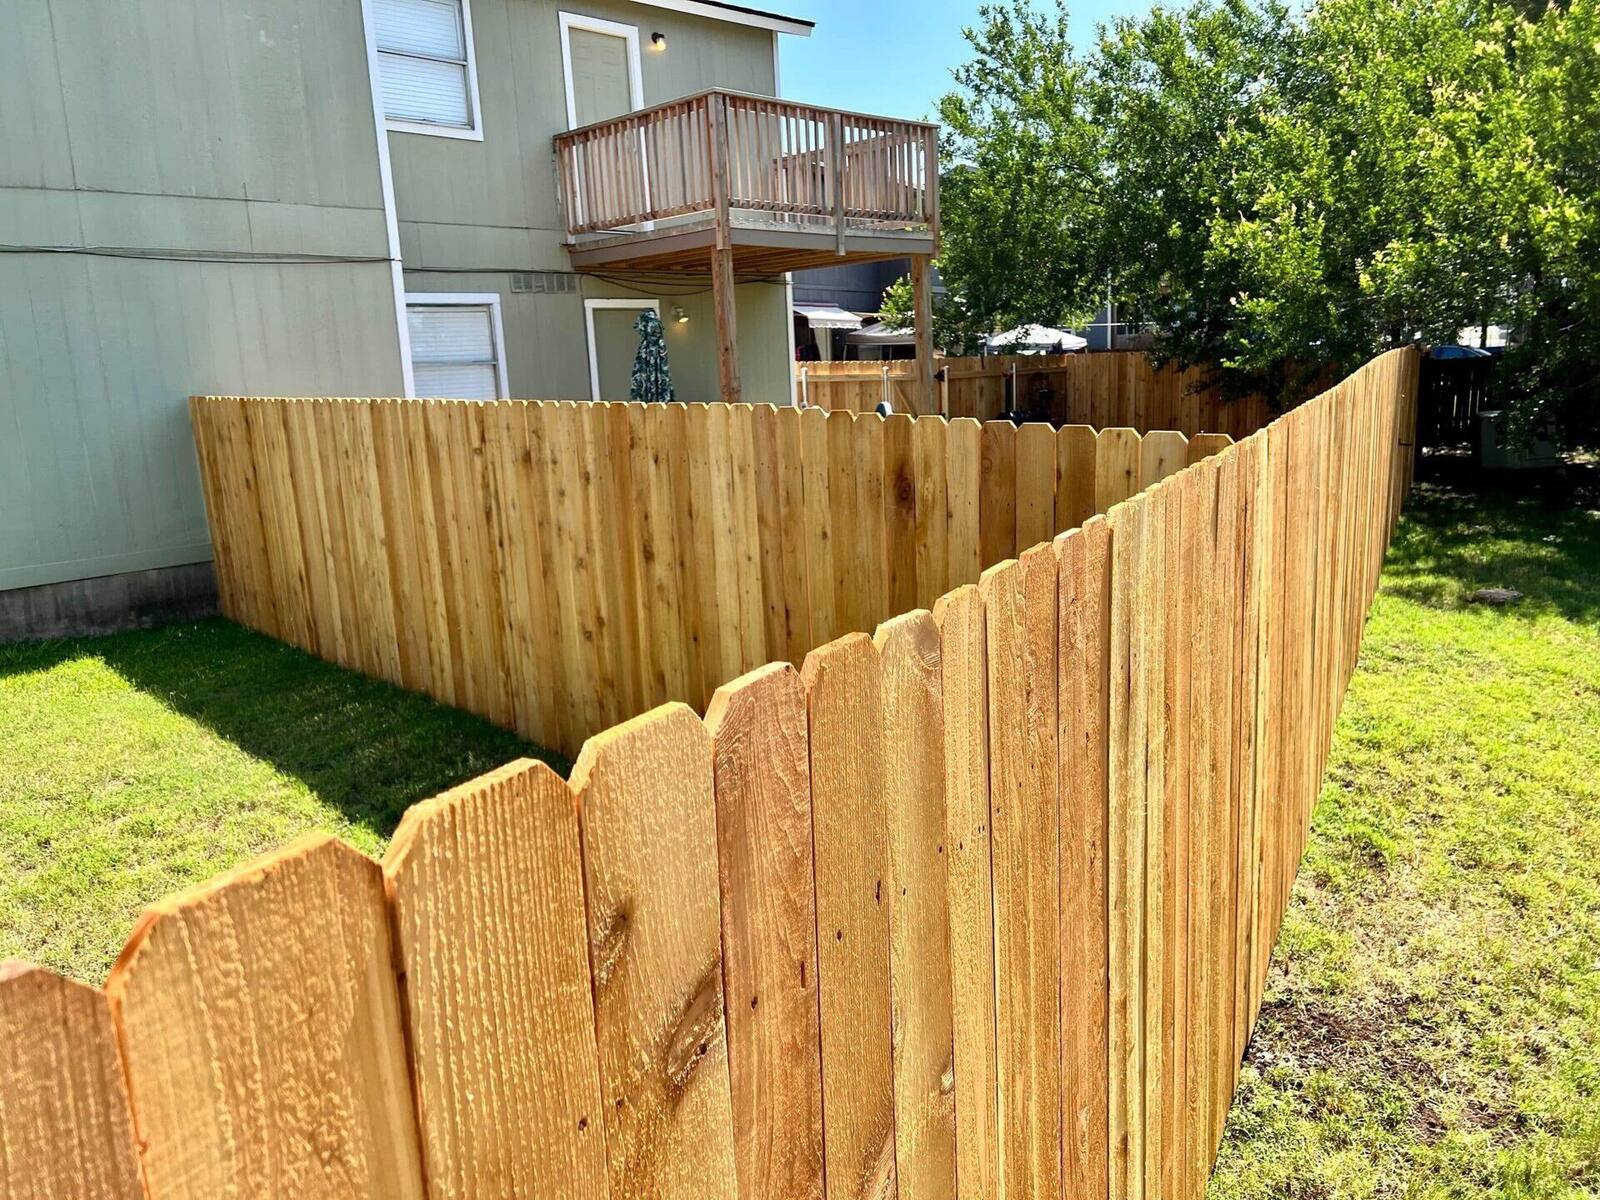
Yellowstone Renovation can inspect the full run and prepare a fence scope based on the actual post, footing, access and irrigation conditions. Review our Sacramento fence contractor service, Sacramento city service page and a verified Sacramento vertical wood fence project, then request an on-site fence estimate.
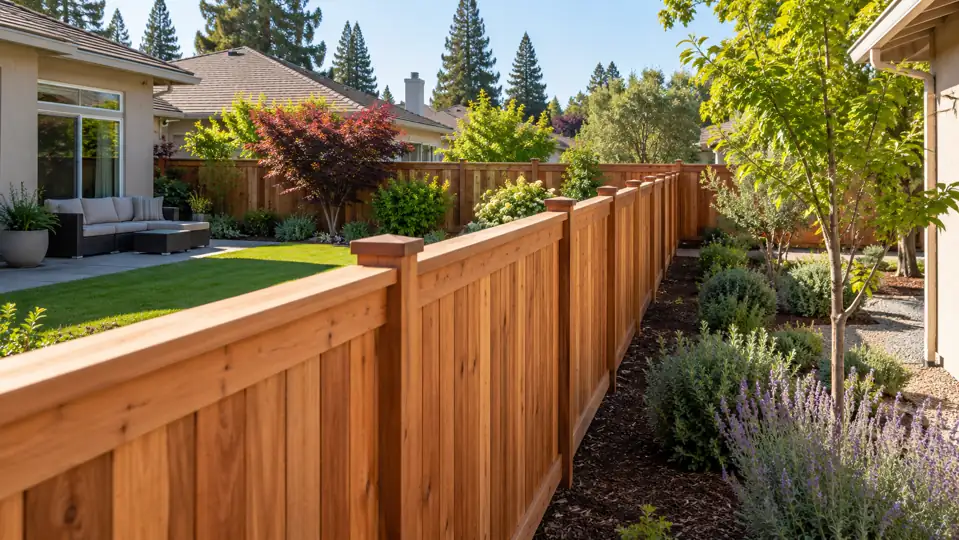
The hero image for this article is an editorial illustration, not a photograph of a Yellowstone Renovation project.