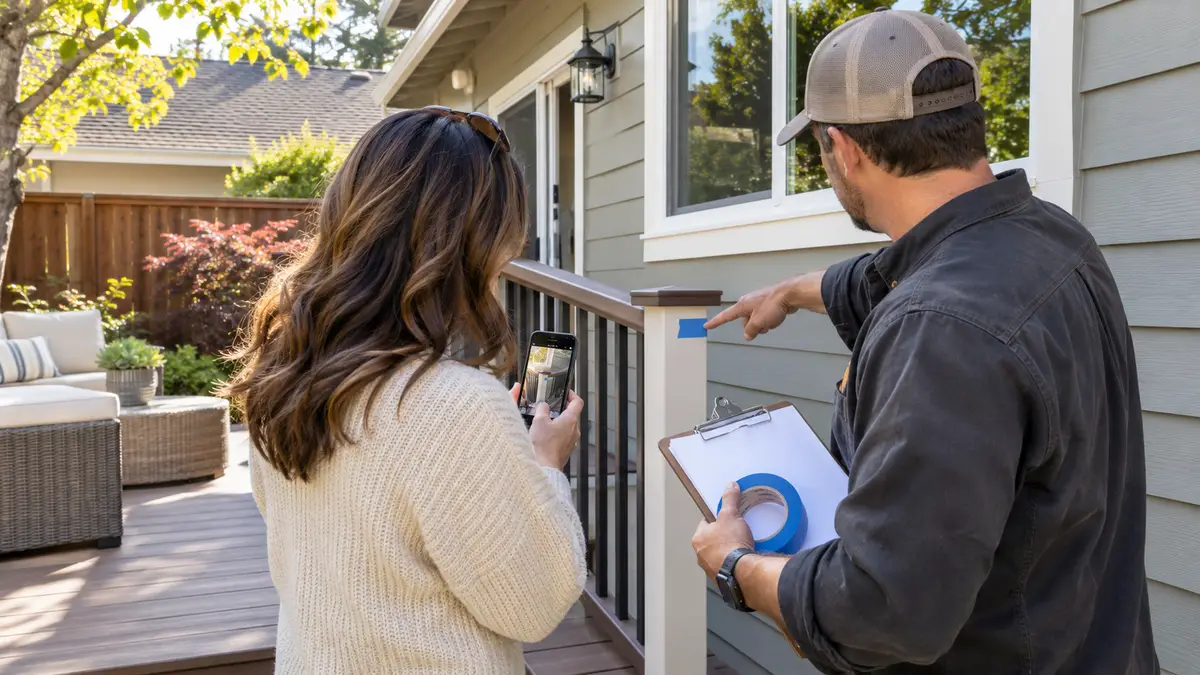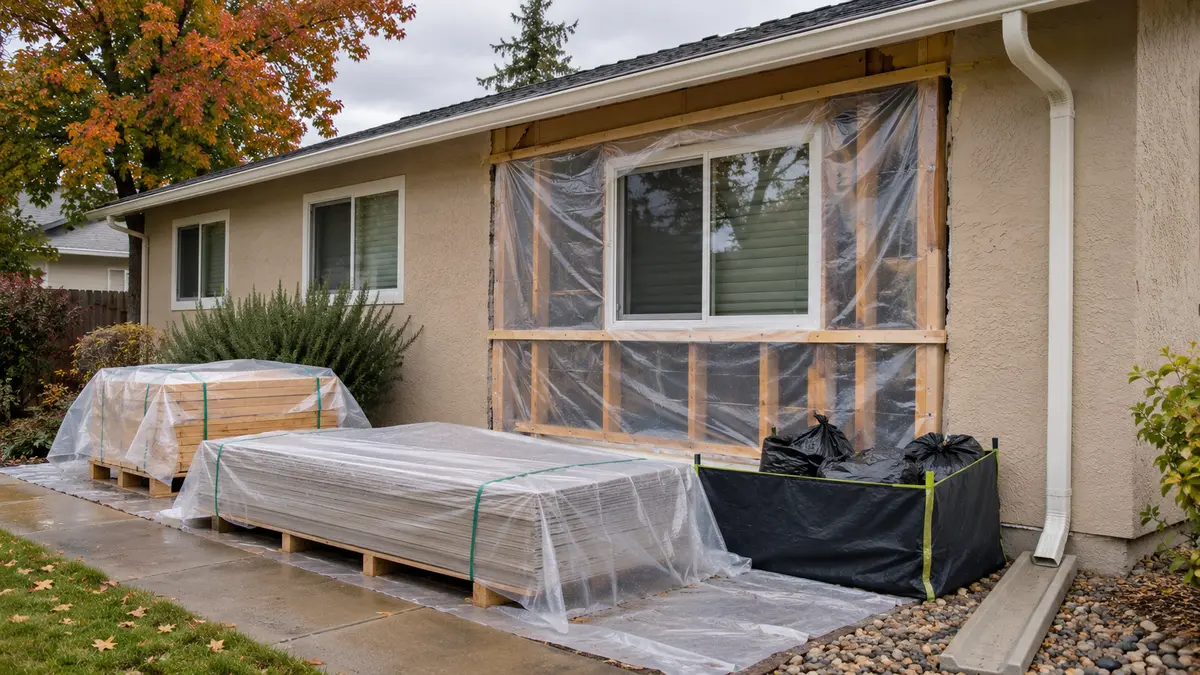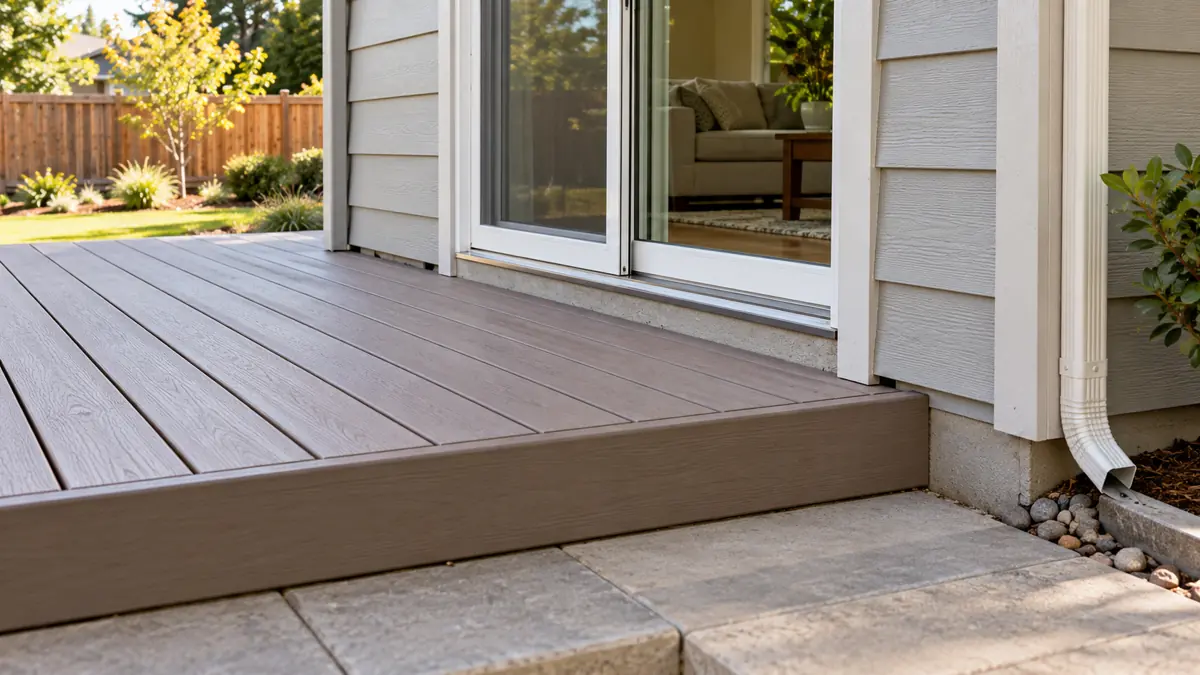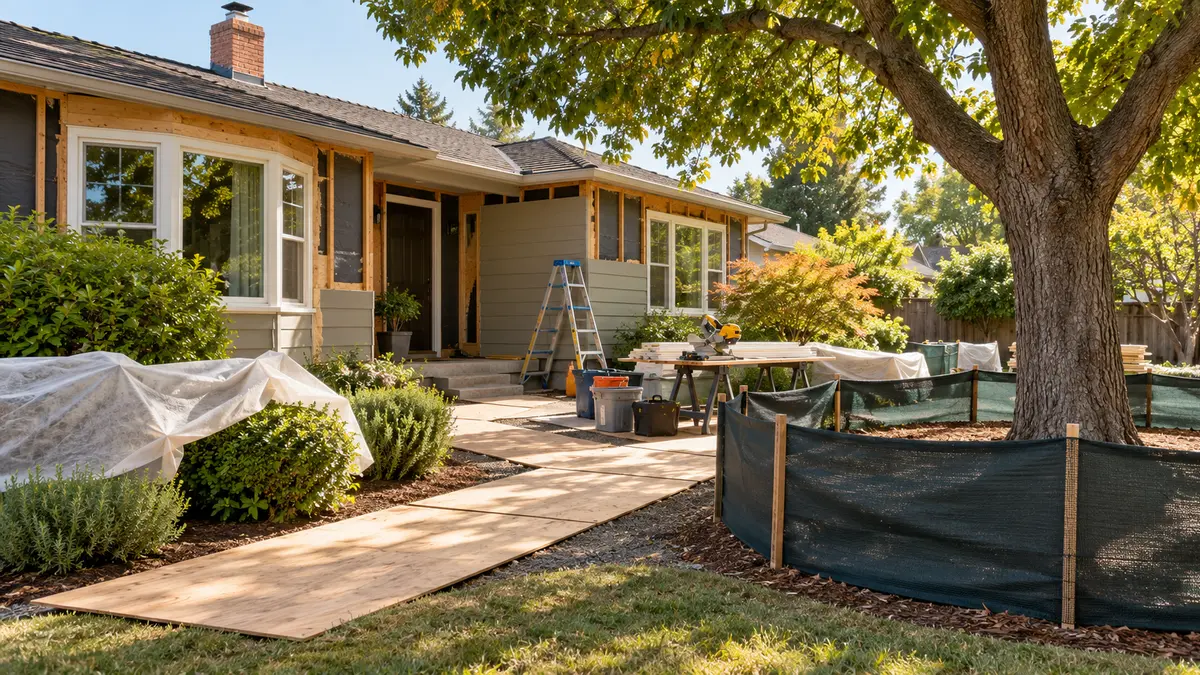
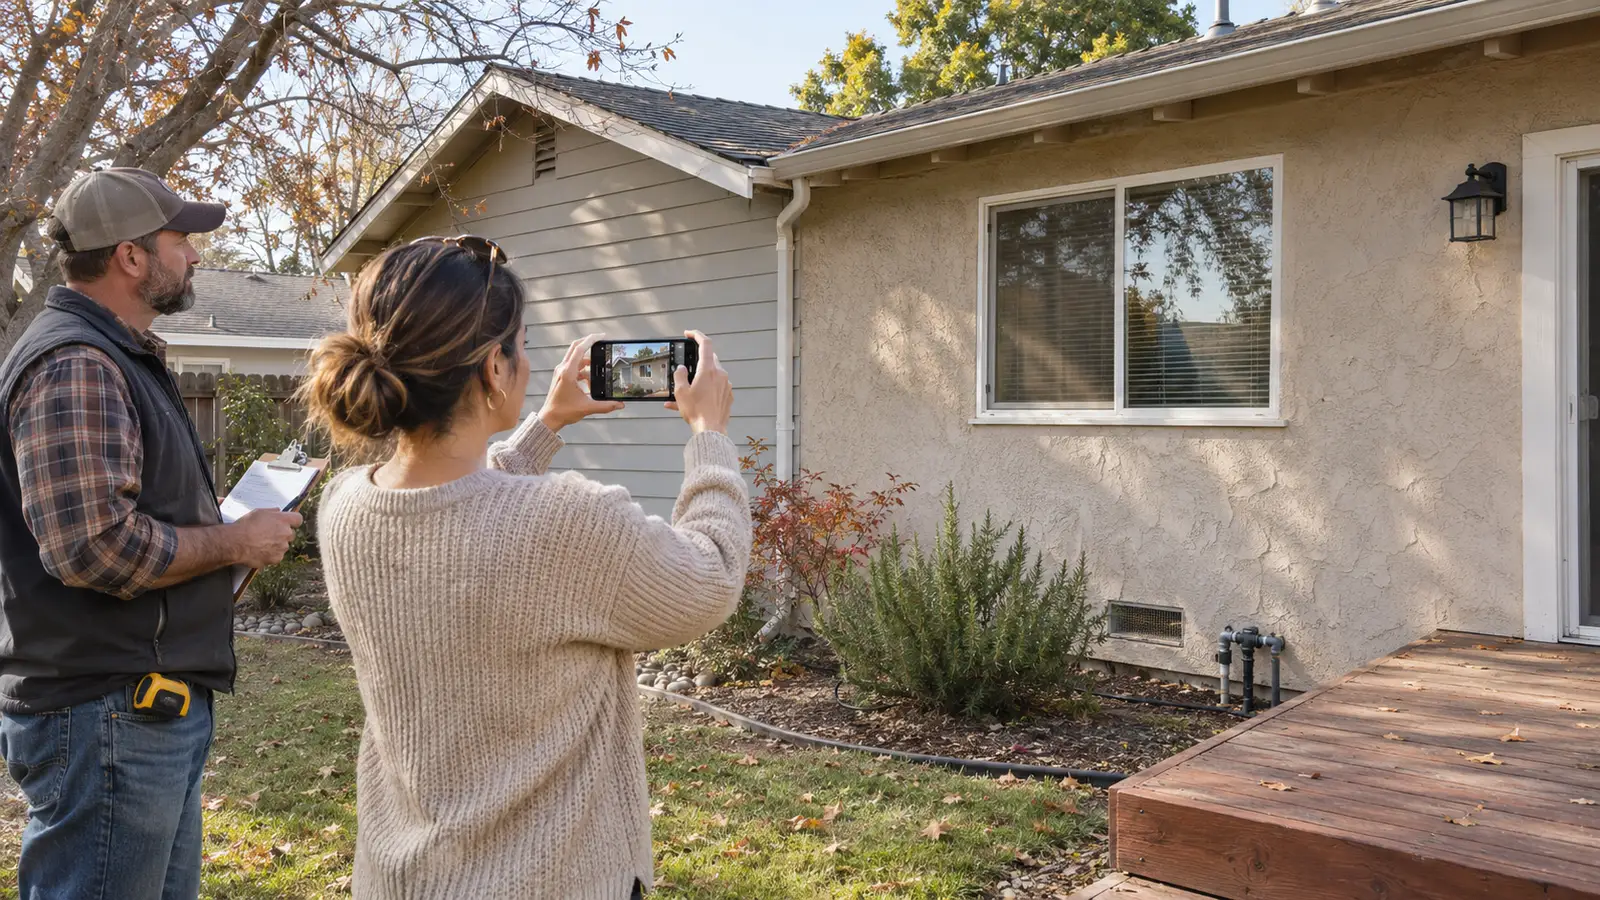
Before exterior demolition starts, photograph the entire work area—not just the damaged spot. Take wide views that establish location, medium views of each building transition, and close views of visible conditions. Also record access routes, landscaping, irrigation, utilities, interior finish near openings, and every item the contract says must remain. Label the files by elevation or work area and keep the original dated images with the project documents.
That record cannot reveal hidden rot, establish a property line or replace an inspection. It can, however, help the homeowner and contractor agree on the starting condition, locate later discoveries and distinguish the original scope from a new condition or request.
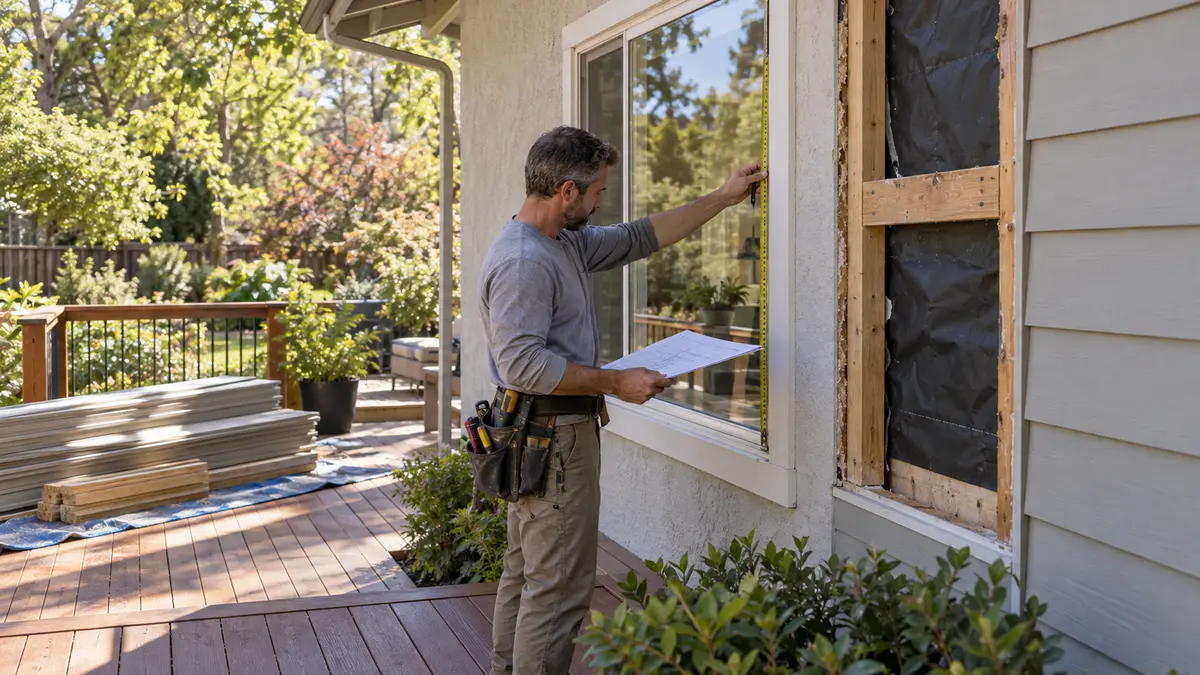
The image above is an original editorial image illustrating documentation before work. It is not a Yellowstone Renovation completed-project photograph.
Decide what the photos need to prove
A useful pre-demolition photo set answers four practical questions:
- Where is the work? Show the entire wall, deck, fence run, window opening or patio-door area before moving closer.
- What is supposed to stay? Record adjacent trim, hardscape, plants, gates, fixtures and interior finishes identified for protection.
- Where do systems meet? Photograph deck-to-wall, siding-to-window, fence-to-gate and threshold-to-patio transitions.
- What was already visible? Record staining, cracks, movement, damaged finishes and previous repairs without guessing at a concealed cause.
Photos support the written scope; they do not expand it automatically. California's Contractors State License Board advises that a home-improvement contract describe the work, products, permits, cleanup and other agreed details, and that scope or price changes be documented through a written change order. Use the photo set to clarify that agreement, not as a substitute for it.
Use a three-distance photo sequence
For each work area, take the same sequence so another person can understand the close-up later.
Wide location view
Stand far enough back to show the full elevation or outdoor area. Include fixed landmarks such as a corner, door, downspout or fence return. For a long fence, photograph from both ends. For a deck, show the house connection, stairs and supports from safe ground.
Medium interface view
Move closer and frame the place where materials or scopes meet: siding beside a window, a deck ledger at the wall, a gate post beside concrete, or a sliding patio-door threshold above the deck. These images are often more useful than isolated close-ups because they preserve drainage and layout context.
Close condition view
Photograph the observable condition clearly. Include a ruler only when it can be placed safely and without disturbing the assembly. Do not pull siding, remove trim, climb beneath an unsafe deck or excavate a post simply to improve a photo. Selective opening belongs in the agreed work and permit sequence.
Photograph the areas demolition can affect
Site access, staging and protection
Record the route from the street to the work area, including gates, walkways, driveway edges, irrigation heads, low branches and tight turns. Photograph the planned material-staging and debris areas. If a plant, light fixture or section of fence must remain, show its condition and location before crews mobilize.
Use the Sacramento landscaping-protection checklist to define root zones, irrigation, access and restoration in writing. A photo of a shrub does not establish whether relocation or replacement is included.
Decks and attached outdoor structures
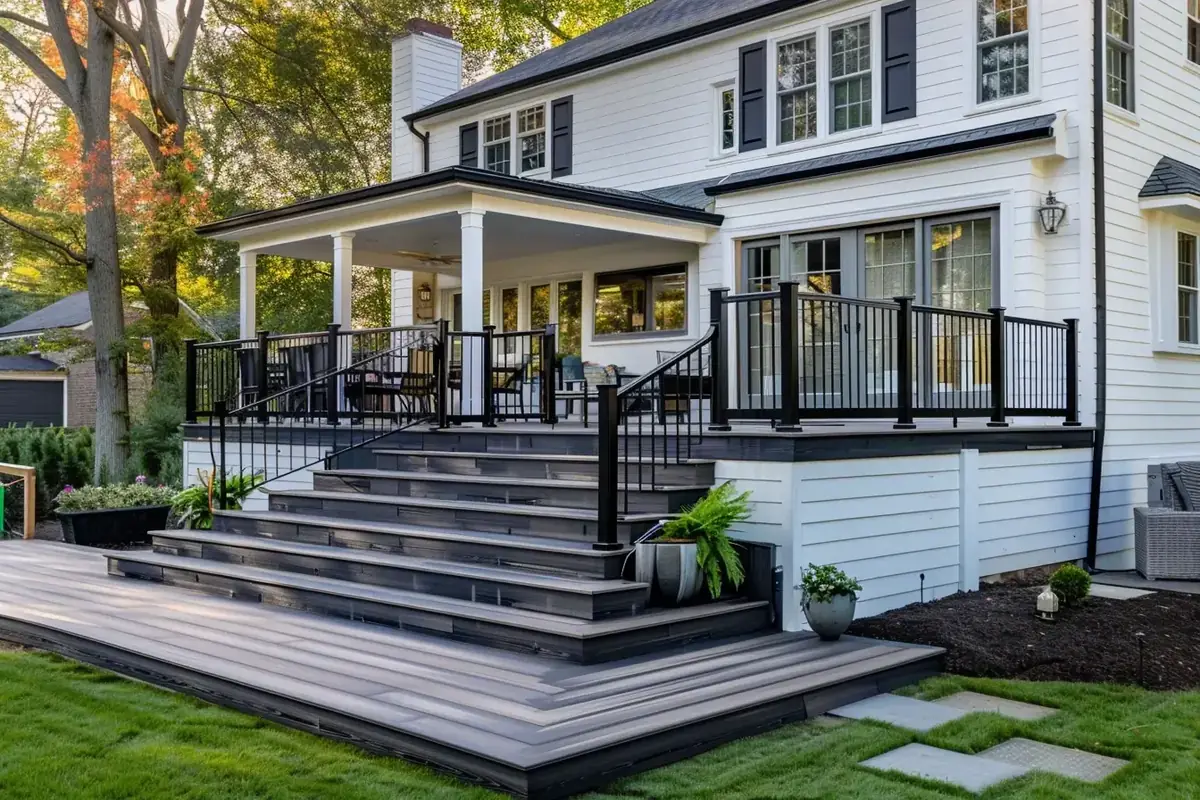
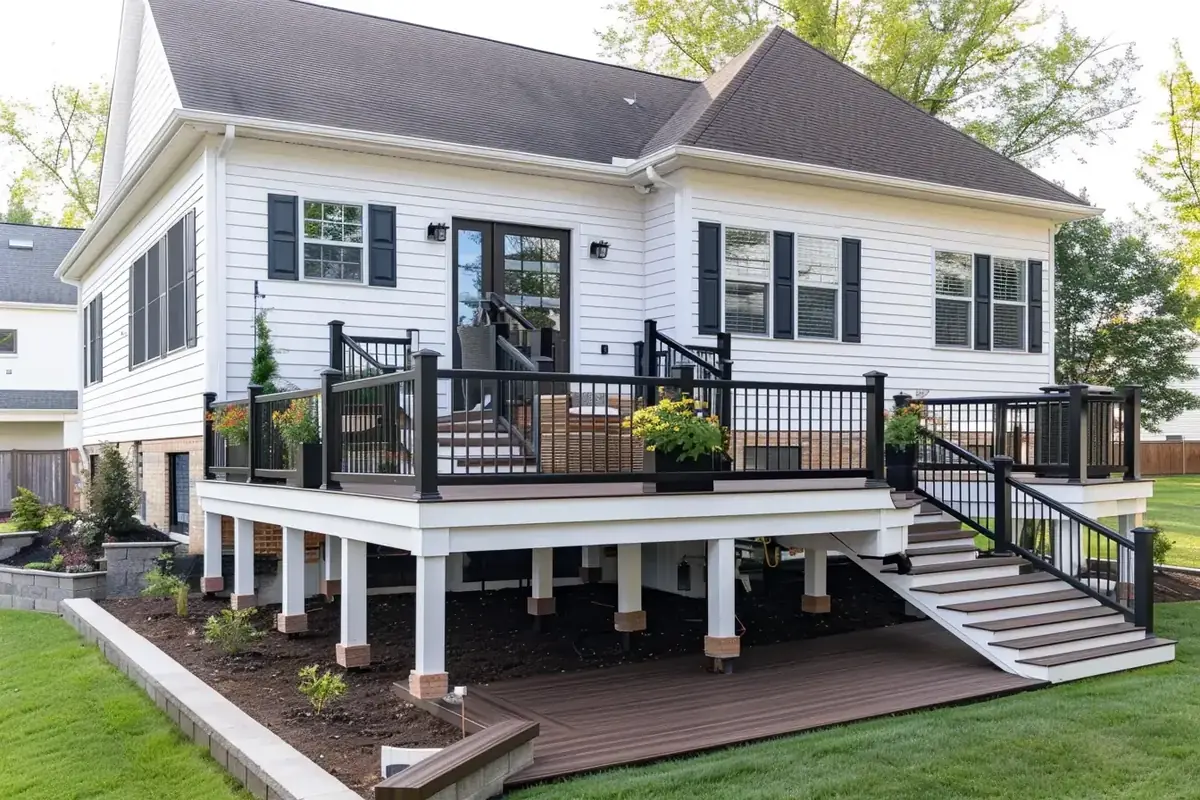
For Sacramento deck work, photograph the walking surface, stairs, railings, visible supports, house connection, nearby doors and drainage. If only the surface will be removed, document the framing assumptions and the planned inspection point after boards come off. Our deck resurfacing scope guide explains why concealed framing should not be promised reusable before it is visible.
Keep people away from components that move unexpectedly or appear unsafe. Documentation is not load testing.
Siding, trim and openings
For siding replacement, take one complete view of each affected elevation. Then record corners, lower clearances, roof intersections, penetrations, utility equipment, windows and doors. Photograph interior finish around openings when the work could disturb casing, drywall or flooring.
Staining should be recorded as an observation, not labeled a leak source without diagnosis. When siding stays around a window, the window-and-siding interface guide identifies the trim, flashing and water-resistive-barrier decisions to settle before removal.
Fences, gates and boundaries
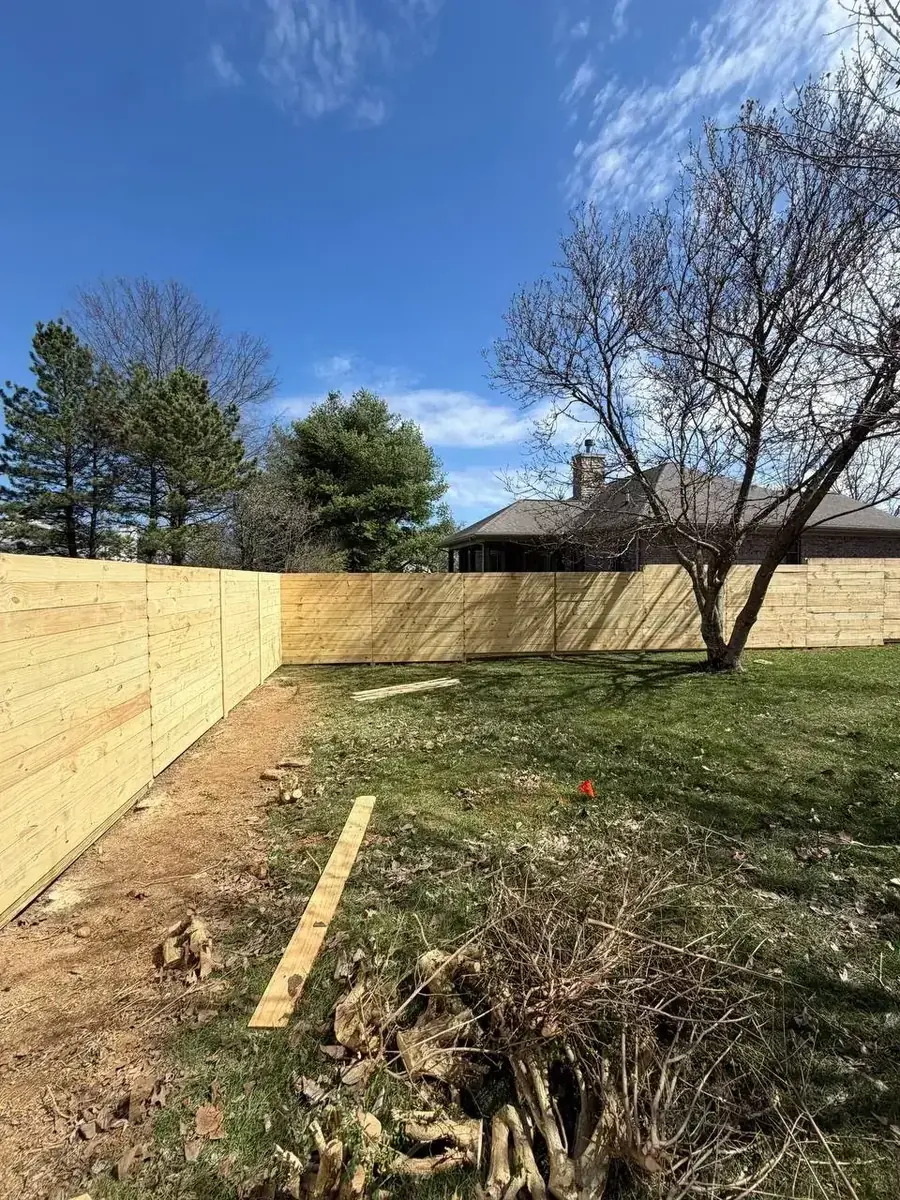
For a Sacramento fence project, photograph the full run from both sides where access is authorized, plus every gate, grade change, retaining edge, tree, utility box and irrigation conflict. Mark the proposed alignment separately from the existing fence if the location may change.
An existing fence is not automatic proof of a legal boundary. Resolve uncertainty with the appropriate records or qualified professional before demolition rather than treating a photograph as a survey.
Windows and sliding patio doors
For windows or sliding patio doors, photograph each opening from inside and outside. Include the sash or panel, screen, lock, surrounding trim, wall finish, sill or threshold, nearby deck or patio surface, and any visible staining. Assign a simple opening number—such as “west bedroom W-3”—and use it in the proposal, selections and photo filenames.
If stucco repair may be involved, document how far the existing finish extends around the opening and use the Sacramento window-and-stucco scope guide to define finish matching and the post-removal review point.
Capture permit and inspection context without confusing the two
For a City of Sacramento project, required work must remain accessible for inspection until it is approved. The City also says the permit and approved plans must be available at the site during construction. Pre-demolition photographs are useful project records, but they do not replace required inspections or authorize work to begin.
Sacramento County lists additions, alterations, decks, siding or stucco, and window replacement among typical projects that may require permits, while some work may qualify for specific exemptions. The correct authority and requirements depend on the property address and scope. Confirm them before demolition; do not rely on a Sacramento mailing address or a neighboring project's process.
Organize the files so the record stays usable
Create one folder for the original photos and do not rely only on cropped screenshots sent by text. A practical filename includes the date, area and sequence:
2026-11-20-west-elevation-window-W3-wide.jpg
Then create a short index with:
- Photo number or filename
- Location and direction viewed
- Observable condition
- Related contract item or drawing
- Item to protect or remove
- Question that must be answered after opening
Back up the folder with the contract, approved selections, change orders and permit documents. Limit distribution of images that reveal security devices, personal belongings or identifying information unrelated to the work.
Establish the after-demolition hold point
The second photo set should happen after the agreed selective demolition and before concealed work is repaired or covered. Photograph the same location sequence, then add exposed framing, sheathing, flashing, fasteners or substrate as applicable.
If the condition changes the scope, pause at the documented decision point. The written change should identify the discovery, proposed work, cost and schedule effect before the changed work proceeds. City inspections are a separate requirement: work that requires inspection must remain open until approved.
A compact pre-demolition checklist
Before work starts, confirm that the record includes:
- Every affected elevation or work area in wide view
- Each material and trade transition
- Existing visible damage or previous repair
- Items designated to remain or be salvaged
- Interior and exterior views of affected openings
- Access, staging, landscaping and irrigation
- Utilities and equipment near the work
- Permit and approved-plan location when applicable
- A filename or index that identifies every image
- The planned post-demolition review and inspection hold points
Plan a documented Sacramento exterior project
Yellowstone Renovation performs the deck, siding, fence, window and sliding patio-door work shown on this site. Review the Sacramento service-area page and verified examples in the Project Showcase, then request an exterior consultation. Bring the existing-condition photos and project documents so the proposed scope can identify what is visible, what is assumed and what must be confirmed after opening.
Frequently asked questions
How many photos should I take before demolition?
Take enough to show every work area in wide, medium and close context. A smaller labeled set is more useful than hundreds of unexplained close-ups.
Do dated photos replace a written contract or change order?
No. Photos document observable conditions. The contract defines the agreed scope, and changes to price or work should be documented in writing.
Should the contractor photograph concealed conditions?
The proposal should say who documents the condition, when work pauses, and how repair options are approved. Photograph exposed conditions before they are repaired or covered, while also completing any required jurisdictional inspection.
Can pre-demolition photos prove where a fence belongs?
No. They can record the existing fence and nearby features, but they do not establish a legal property line.