
The short answer: sequence the shared details before the individual trades
For a Sacramento home receiving a deck, siding and windows, the safest planning rule is: design and document the connections first, complete demolition and opening inspections second, install windows and wall water-management details before final siding, then finish the deck where it meets the house.
That is a planning framework, not a universal recipe. An independent freestanding deck may have little effect on a window project. An attached deck below a patio door can affect ledger flashing, siding removal, access and threshold drainage. Insert windows that retain sound frames may disturb far less wall material than full-frame units. The correct order follows the actual assemblies and approved scope.
The expensive mistake is letting each proposal treat the wall, opening and deck as unrelated jobs. Decide who owns every transition before work begins.
Start with one coordinated condition survey
Walk the project with the deck, siding and window scopes visible at the same time. Mark every place where one system touches another:
- Deck ledger or freestanding deck edge at the wall
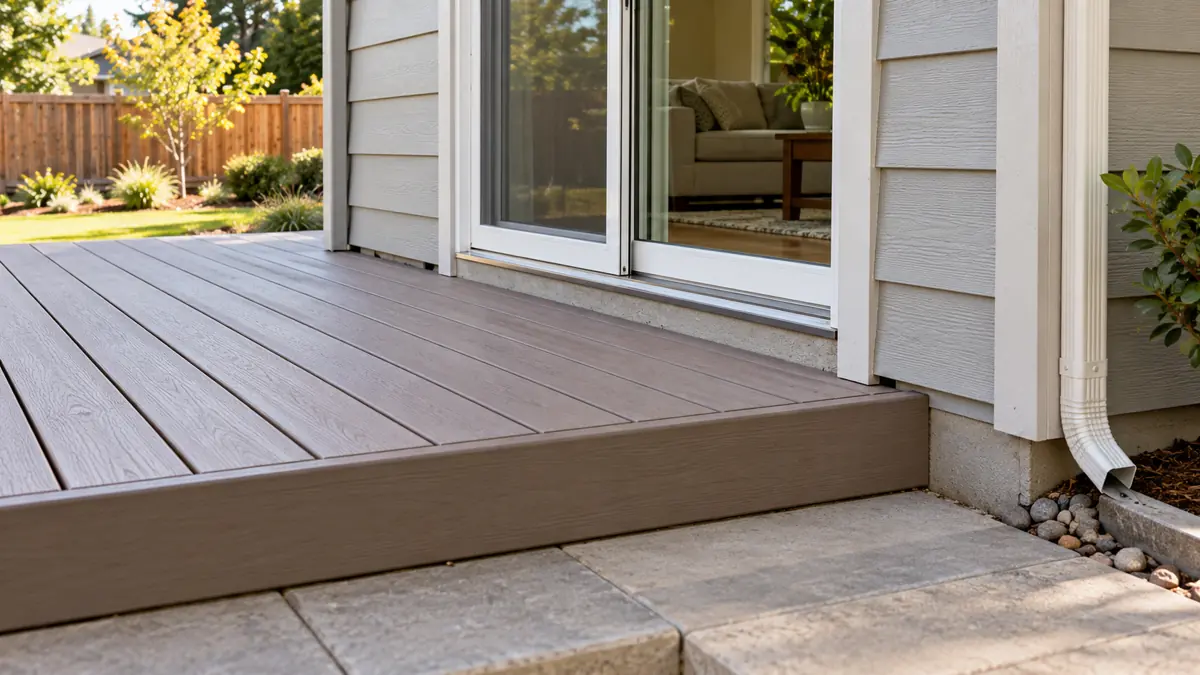
- Patio-door and window sills above the deck
- Siding and trim behind stairs, landings or rail posts
- Downspouts, irrigation and roof runoff near the work
- Exterior outlets, lights, vents and hose bibs
- Areas that will become inaccessible after finish work
Photograph each intersection in a wide view and close-up. Use the same identifiers on the drawings and proposals—such as W1 for a window and D1 for a door. Record interior access, landscaping protection and material-staging limits as well.
This survey should separate confirmed scope from concealed conditions. No contractor can responsibly promise that covered sheathing, framing or ledger connections are sound before they are exposed. The contract should define an inspection hold point and a written change-order process instead of hiding uncertainty inside a vague allowance.
A practical sequence for an attached-deck exterior remodel
1. Confirm design, products, permits and responsibilities
Choose window installation type, siding assembly, deck layout and final elevations before ordering long-lead materials. Confirm whether the deck is attached or freestanding, where the ledger or gap will be, and how the deck surface relates to door thresholds and wall drainage.
The City of Sacramento advises property owners to verify whether a project requires a building permit before work begins. Requirements can change with structural work, altered openings and address-specific conditions, so the proposal should identify who verifies jurisdiction, submits documents, schedules inspections and closes the permit. Do not treat a general online statement as approval for a specific address.
Create one responsibility matrix covering:
| Transition | Written owner |
|---|---|
| Window-to-WRB flashing | Window installer or named exterior contractor |
| Siding and trim restoration | Siding installer |
| Ledger flashing and wall repair | Deck contractor or named exterior contractor |
| Stucco or paint blending | Specifically identified trade |
| Concealed damage | Inspection, price approval and repair process |
| Final sealant and cleanup | Named contractor, with excluded areas listed |
If different companies are involved, one person still needs authority to resolve conflicts between drawings, manufacturer instructions and field conditions.
2. Protect the home and create access
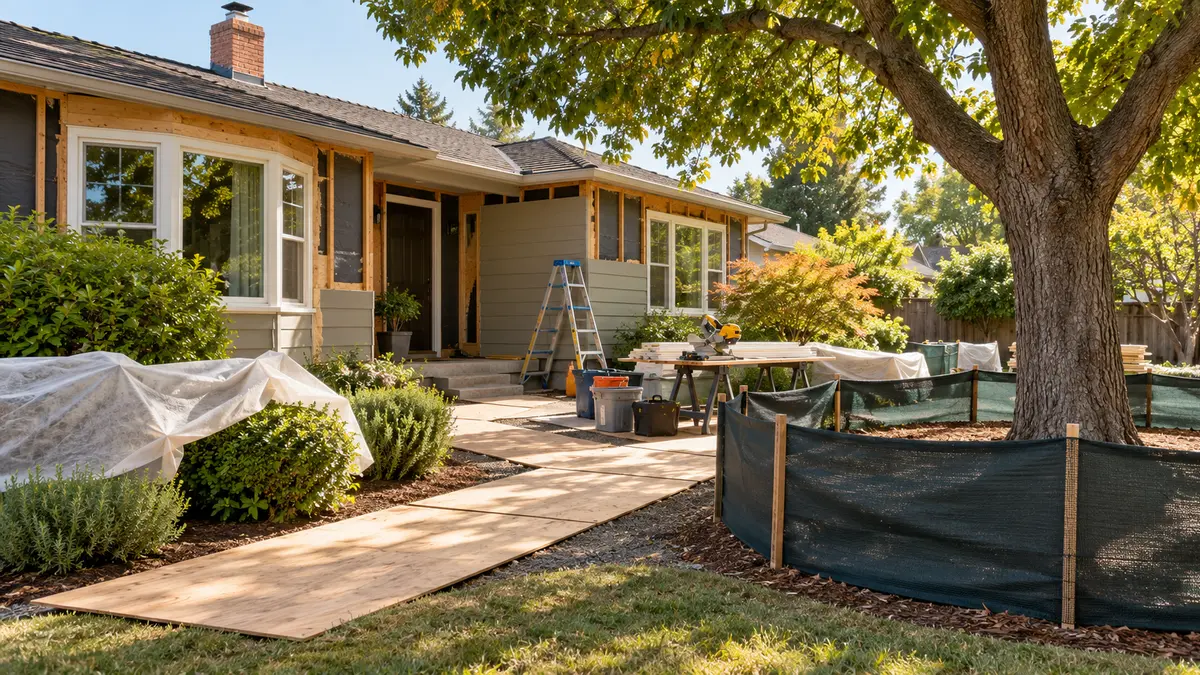
Before demolition, establish occupant paths, dust protection, temporary weather protection and secure material storage. Move fragile landscaping only as agreed. Protect the deck if it remains in service; if it is being removed, define which portions come out early to give safe wall access.
Do not remove more siding or decking than can be protected from weather. A rushed opening that sits exposed while another trade waits is not coordination.
3. Perform selective demolition and stop for inspection
Remove the components necessary to see the critical conditions: window perimeter, wall sheathing, water-resistive barrier, ledger area or deck-to-wall transition. Then pause.
Document moisture staining, soft material, corrosion, missing flashing, irregular framing and previous patches without immediately covering them. Determine whether the planned insert window remains appropriate or whether a full-frame scope is needed. Our insert-versus-full-frame estimate guide explains the scope difference.
For a deck resurfacing project, the same hold point applies after walking surfaces are removed. Existing framing can stay only after its condition, dimensions, connections and compatibility with the new decking are checked. Use the Sacramento deck resurfacing and framing guide for that decision.
4. Repair the substrate and establish the water path
Complete approved framing, sheathing and substrate repairs before finish products hide them. The wall water-resistive barrier, window flashing and ledger flashing must function as one drainage path rather than separate strips of material.
Department of Energy retrofit guidance emphasizes that window flashing must integrate with the wall's rain plane, which may not be the face of the siding. Building Science Corporation likewise illustrates window flashing layered in shingle fashion so upper layers direct water over lower layers.
The project-specific detail must follow the selected product instructions, applicable plans and existing wall conditions. Sealant alone is not a substitute for a continuous, properly lapped drainage assembly.
Before approving the final elevations, use the Sacramento deck, siding and door-threshold drainage guide to trace roof runoff, wall drainage, ledger flashing and the patio-door sill to one safe discharge route.
5. Install and test windows before final siding
When full-frame windows and siding are both being replaced, installing and flashing the openings while the wall is accessible generally avoids cutting newly finished siding later. Set units plumb, level and square; complete the specified sill, jamb and head flashing; then verify operation, locks and drainage details before surrounding finishes close.
Insert windows can follow a different path because more of the existing opening remains. Even then, the estimator should state how exterior trim, sealant and nearby siding will be handled.
Review the house-wrap and siding integration guide before approving the wall sequence. It explains why the visible cladding is not the primary drainage layer.
6. Complete siding, trim and wall penetrations
Install the approved WRB repairs, flashings, siding, trim and penetration details in the documented order. Preserve required gaps and designed drainage openings. Finish the areas that will become difficult to reach after the deck surface, guard or stairs are installed.
The siding scope should say who restores window trim, paint or stucco, whether color matching is exact or best effort, and how penetrations are mounted. Compare those line items with the Sacramento siding estimate guide.
7. Complete the deck-to-house work and final deck finishes
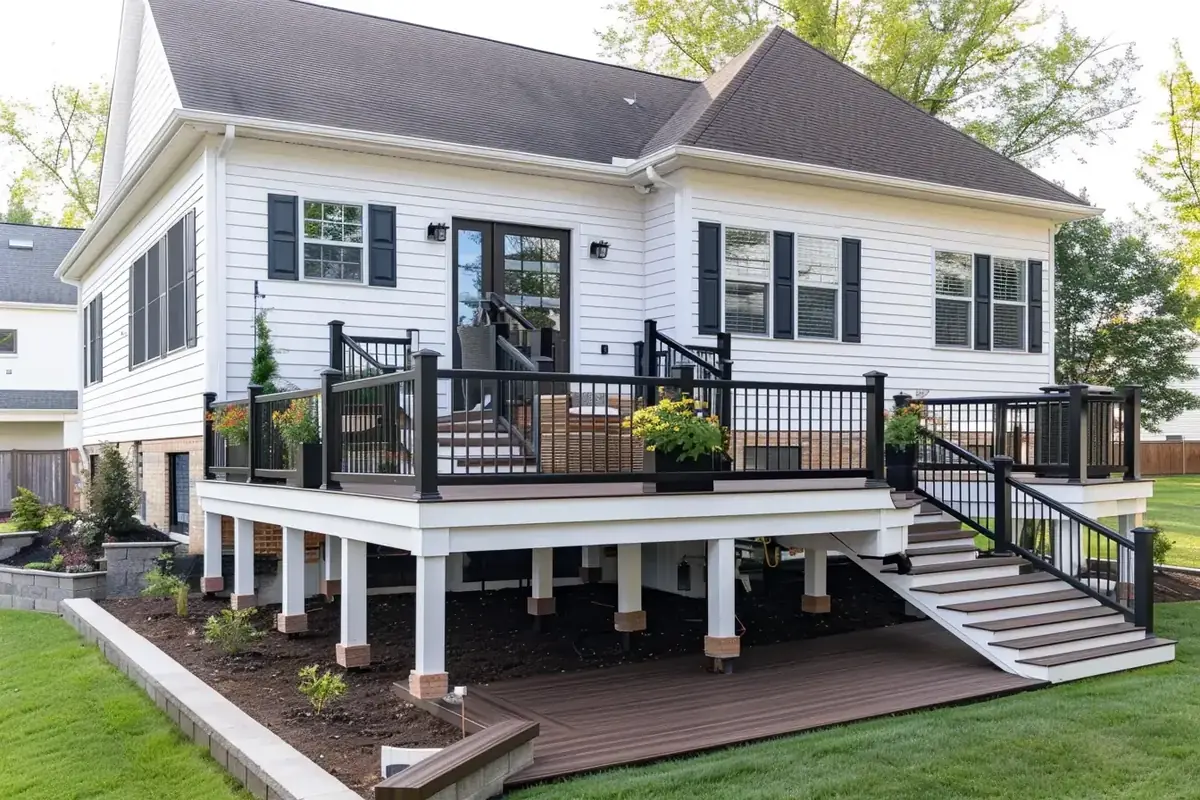
After the wall and opening details that must sit behind the deck are complete and accepted, finish the ledger connection or required freestanding gap, framing, decking, stairs and guards. Protect completed siding and windows during fastening and material handling.
Confirm that the final deck elevation does not block window drainage or create a poor patio-door transition. Downspouts and irrigation should not discharge onto the ledger, posts or threshold. If the deck design includes a cover or shade structure attached to the wall, coordinate its flashing and runoff before the wall finish is closed.
When another order may be appropriate
A rigid “windows first” or “deck last” rule can be wrong when the scopes do not overlap.
- Freestanding deck away from the wall: it may proceed independently if access and material staging do not conflict.
- Insert windows with no siding removal: work may be scheduled separately after the retained frames and exterior transitions are verified.
- Deck needed as working access: temporary or partial deck work may occur earlier, but final finishes should be protected and the wall details must remain accessible.
- Emergency structural repair: unsafe deck or water-damaged framing takes priority over the cosmetic schedule.
- Phased budget: complete a durable temporary termination detail rather than leaving half-finished flashing for a future phase.
The principle is consistent: do not complete a finish that the next trade must cut, remove or guess behind.
Put these checkpoints on the project schedule
Use visible approvals rather than a calendar that only lists trade names:
- Existing-condition documentation complete
- Products, elevations and transitions approved
- Permit responsibilities confirmed
- Selective demolition complete
- Concealed-condition inspection and change orders approved
- Substrate and flashing work photographed before covering
- Windows operational and perimeter details reviewed
- Siding and trim complete at deck intersections
- Deck, stairs and guards complete
- Final water-path, operation, cleanup and closeout review
Keep product instructions, inspection records, approved changes and before-cover photographs with the project file. Those records make the final walkthrough more useful and reduce disputes about which trade owned a transition.
Plan the Sacramento project as one exterior assembly
Yellowstone Renovation coordinates deck construction in Sacramento, Sacramento siding replacement and window replacement. Review the Sacramento service-area page and a completed Sacramento composite deck project, then request an exterior project consultation.
Bring photographs, product preferences and any existing plans to the visit. The goal is not to force three projects into one contract; it is to define a sequence that protects completed work and gives every water-management transition a clear owner.
Frequently asked questions
Should windows always be installed before siding?
Not always. Full-frame windows commonly benefit from open-wall access before final siding, but insert units may retain most of the existing opening. The selected window, wall assembly and manufacturer instructions should determine the sequence.
Should the deck be removed before siding replacement?
Only where removal is needed for safe access, inspection or correction of the deck-to-wall connection. A freestanding deck with adequate clearance may remain. An attached ledger hidden behind finishes may require selective removal and inspection.
Can separate contractors handle the three scopes?
Yes, if the contracts define transition ownership, shared elevations, protection, inspection points and change-order authority. Without that coordination, each trade can complete its own work while leaving the interface unresolved.
What should be photographed before work is covered?
Photograph exposed sheathing and framing, sill and jamb flashing, WRB transitions, ledger flashing, repaired substrate, fastener patterns where relevant and the completed drainage path before trim or finishes conceal it.